
Free preview · full pattern in the Vintage Crochet Edgings & Trims
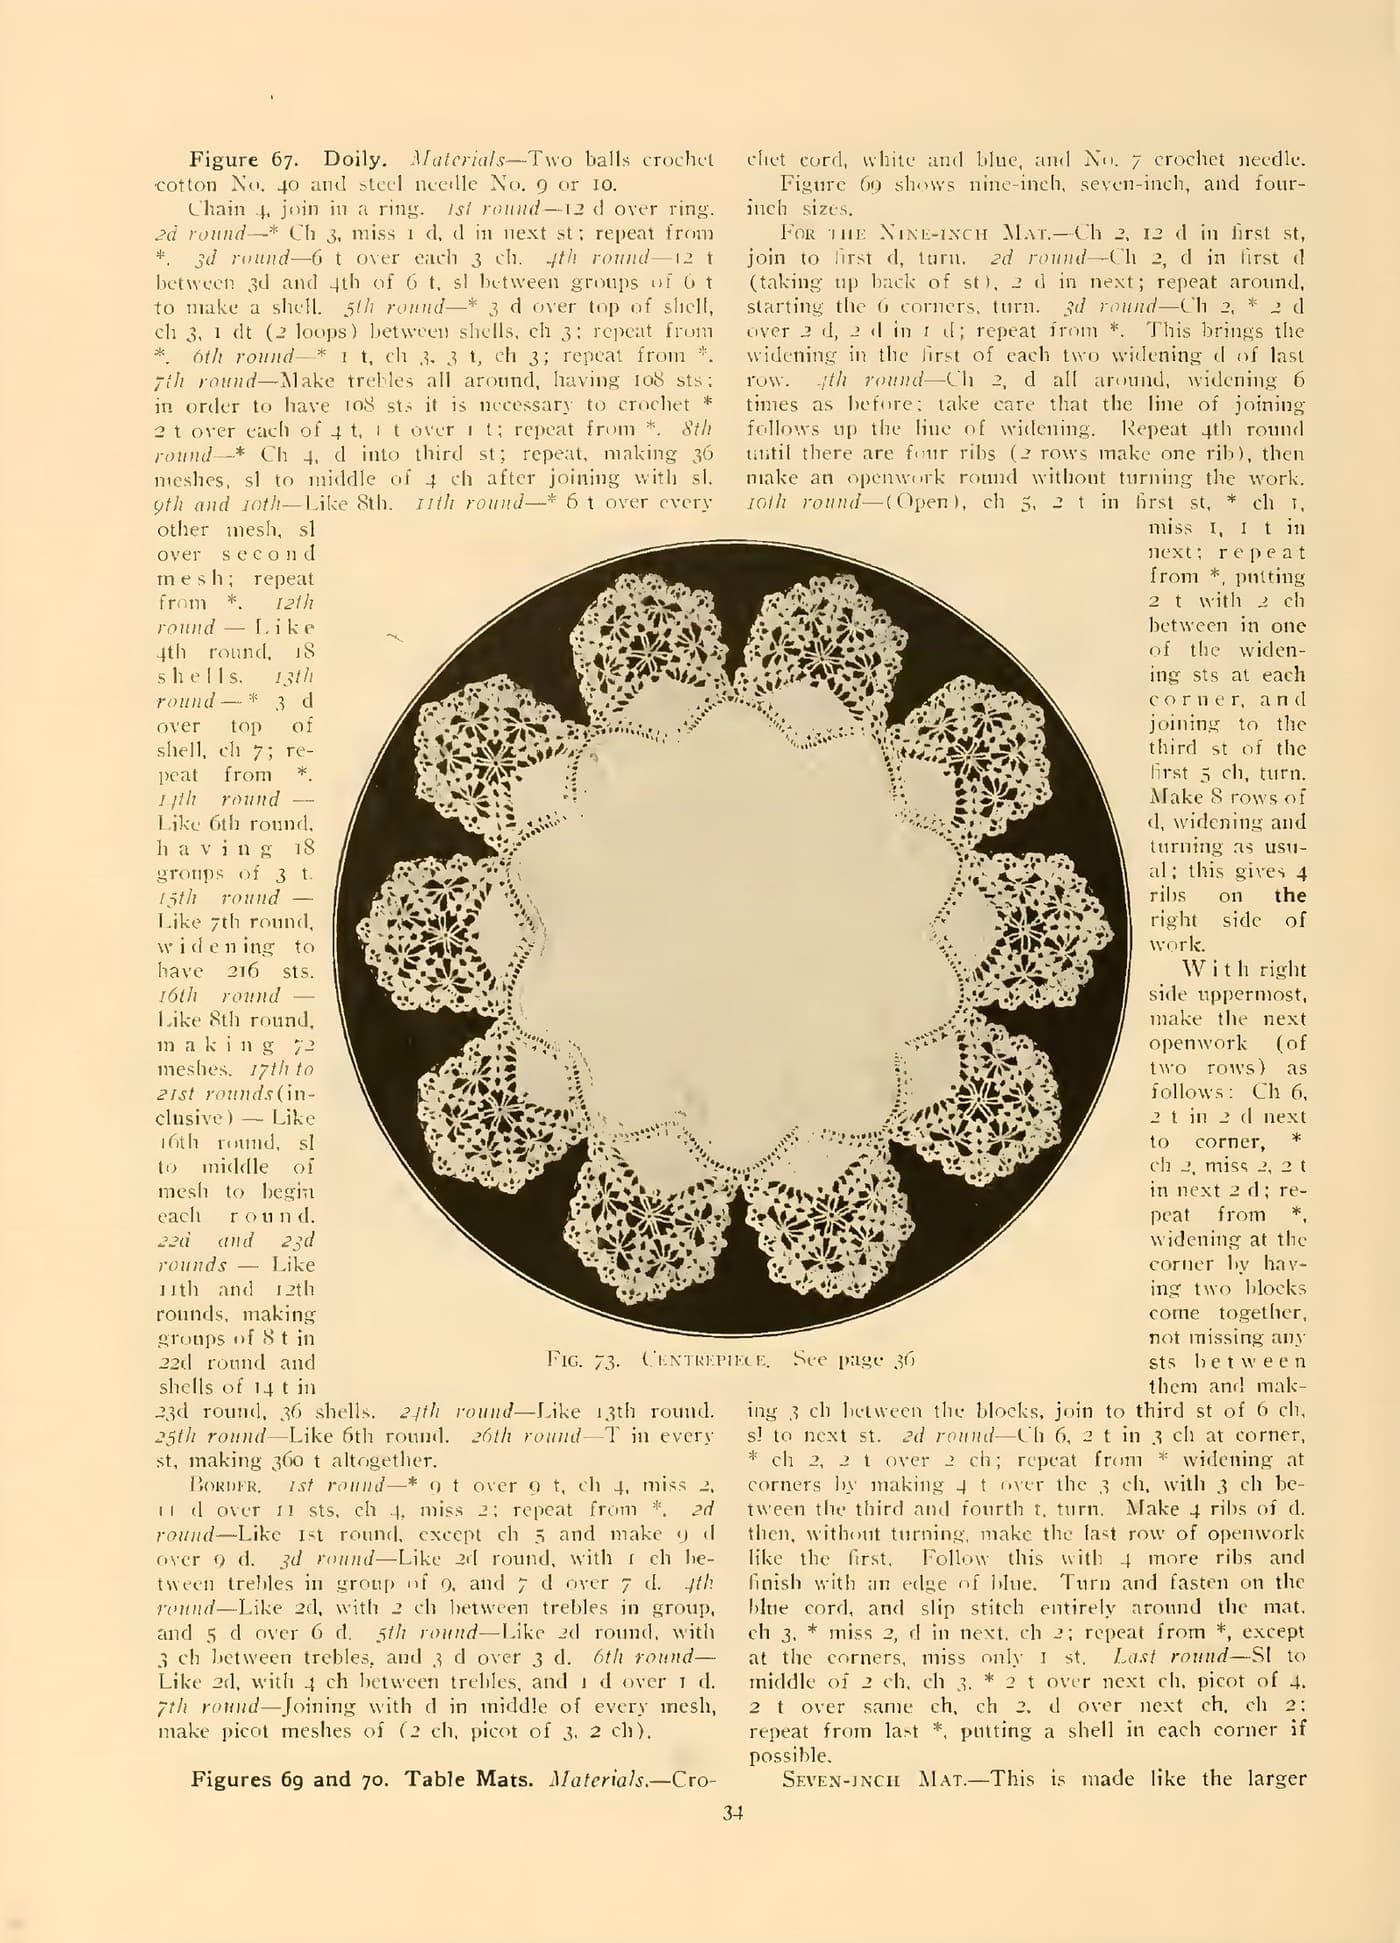
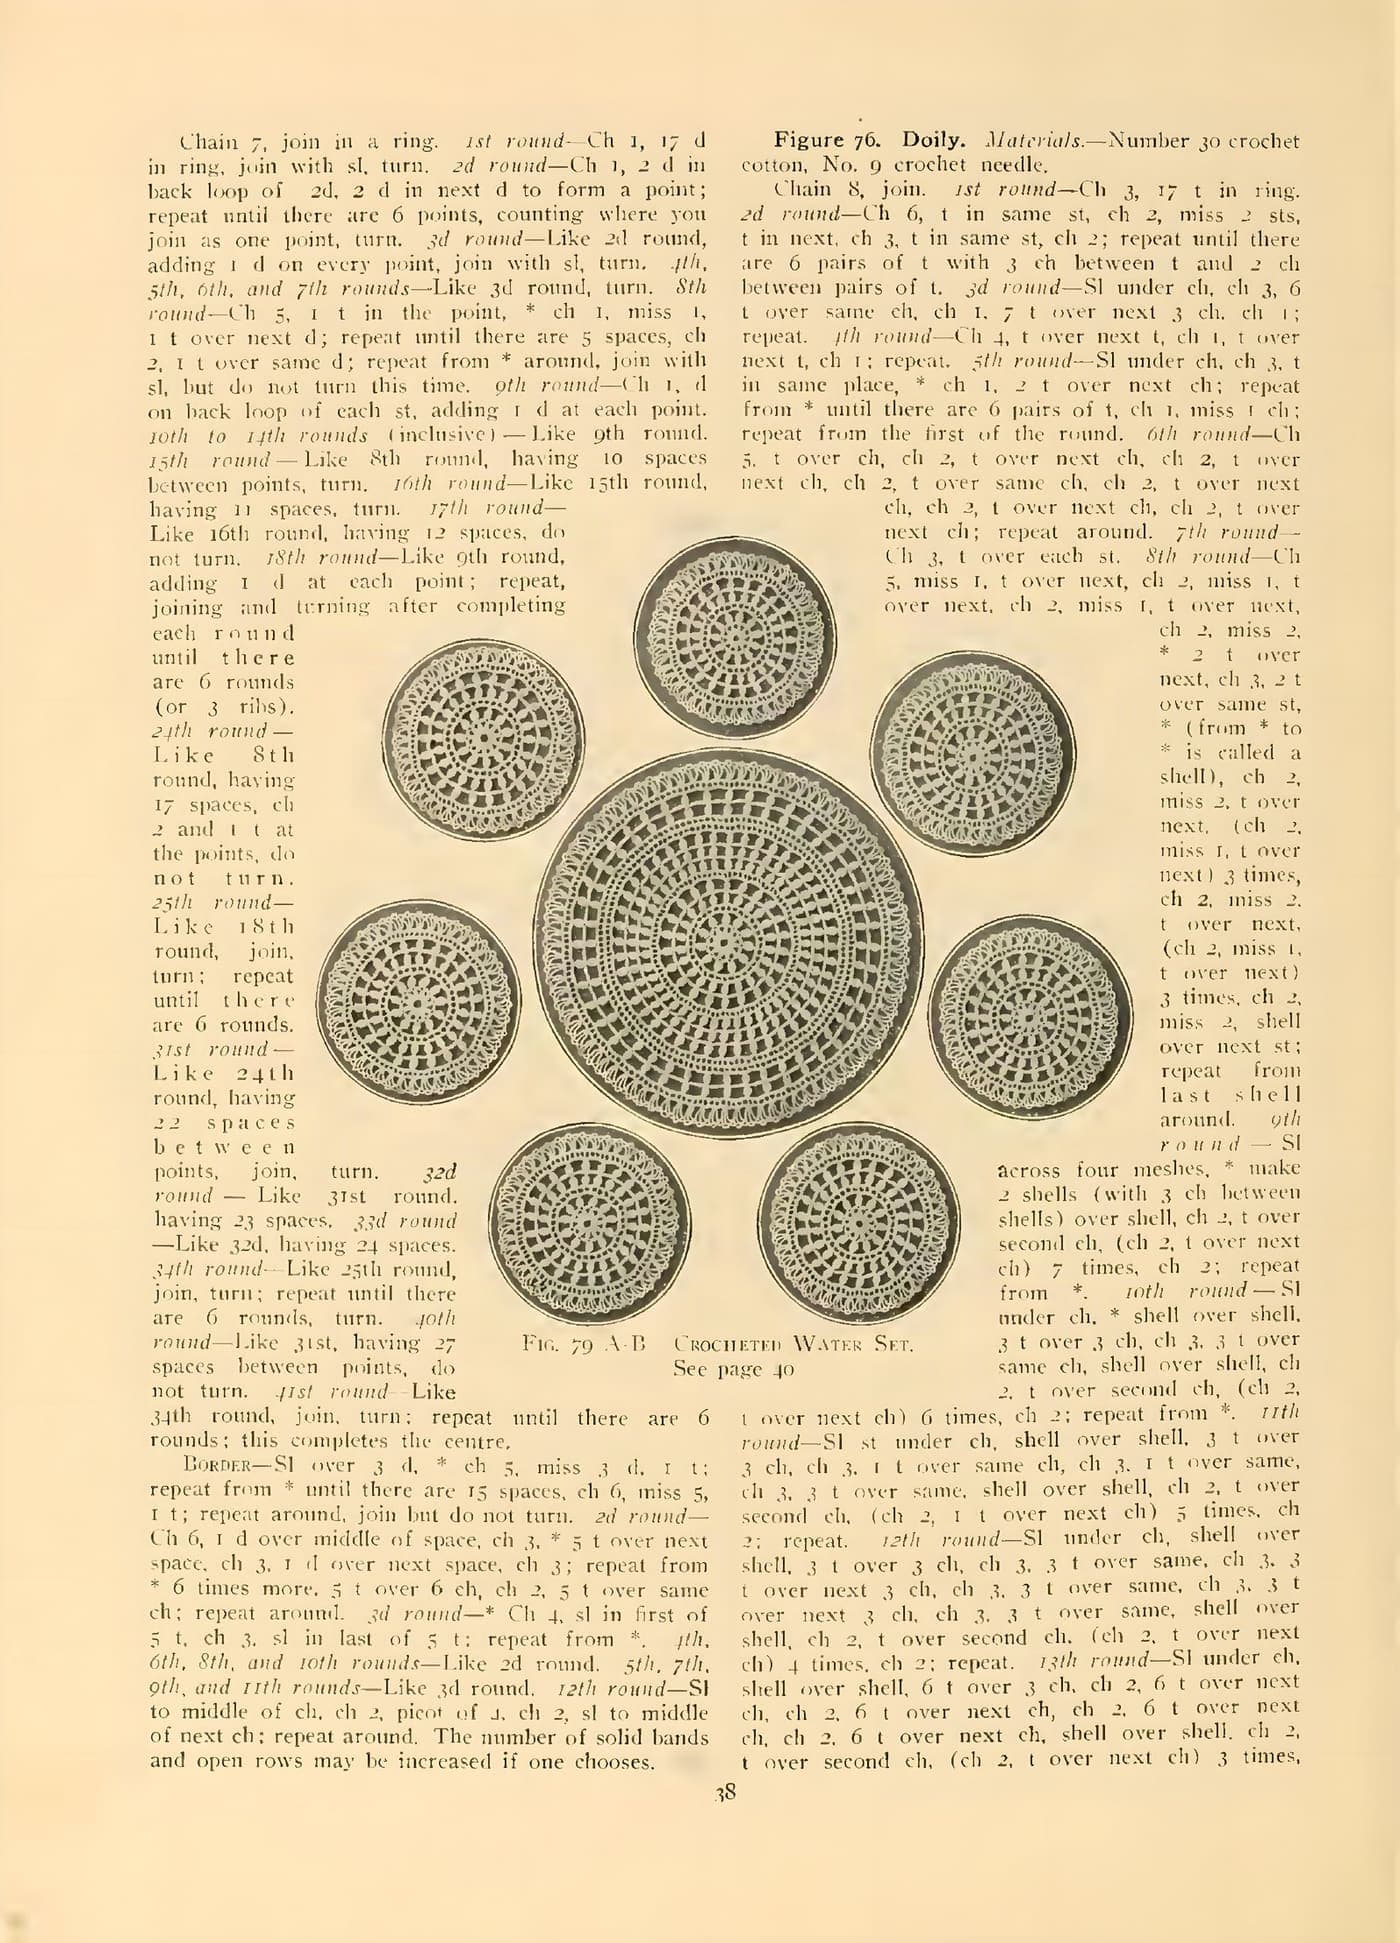
Figure 91 Shell and Opening Fan Edging (1913): vintage crochet pattern
A twenty-row edging with a shell band at the top and a fan that opens out from twelve double crochet into shells of four double crochet and back into groups of ten, each scallop caught to the last. Originally published as "Figure 91. Edging" in The Priscilla Crochet Book: Edgings and Insertions by The Priscilla Publishing Company, Boston.
By the crochetpatterns.io editorial team · Updated · Editorial policy · pattern testing in progress
| Detail | Value |
|---|---|
| Skill level | Advanced |
| Yarn weight | Lace (#0) |
| Yardage | the book gives no thread quantity for any design. (as printed; yardage not given) |
| Hook | 0.75 mm |
| Gauge | No gauge printed. Work a sample repeat and match the hook to the thread. |
| Finished size | Not printed. Worked from a chain of 25 sts; the repeat is 20 rows. |
| Time | about 7 hours |
Materials
- Size 100 crochet thread — approximate modern equivalent of No. 100 Cordonnet crochet cotton
- 0.75 mm steel hook (US 14) — approximate for the book's No. 13 hook
- Fine tapestry or sewing needle for the ends
- Hook: Start with 0.75 mm (US steel 14) — approximate for the book's No. 13 hook; change size until the thread runs easily without splitting and the lace lies flat.
Yarn Kit & Substitution Options
This pattern calls for 350 yards of weight #0 yarn. Select a suggested yarn to see required skeins and estimated cost:
Caron Simply Soft · 100% Acrylic
315 yds per skein · High-yield yardage, silky no-scratch texture
2 skeins required
approx. $$10.98 total
Abbreviations (US terms)
- chain
- slip stitch
- single crochet
- double crochet
- stitch
- stitches
- skip
- space
- repeat
- row
- shell
Notes before you start
- Source: "Figure 91. Edging", The Priscilla Crochet Book: Edgings and Insertions, The Priscilla Publishing Company, Boston, 1913. Public domain in the USA.
- As printed — materials: No. 100 Cordonnet crochet cotton — from the book's general Materials paragraph: all of the edgings shown were made of No. 100 Cordonnet crochet cotton except those in which the number of cotton is specified in the directions; No. 13 hook — the book directs a No. 13 hook for No. 100 cotton and a No. 12 hook for No. 70 cotton, and for coarser cottons a hook that will carry the thread easily without splitting it. Gauge: Not given.
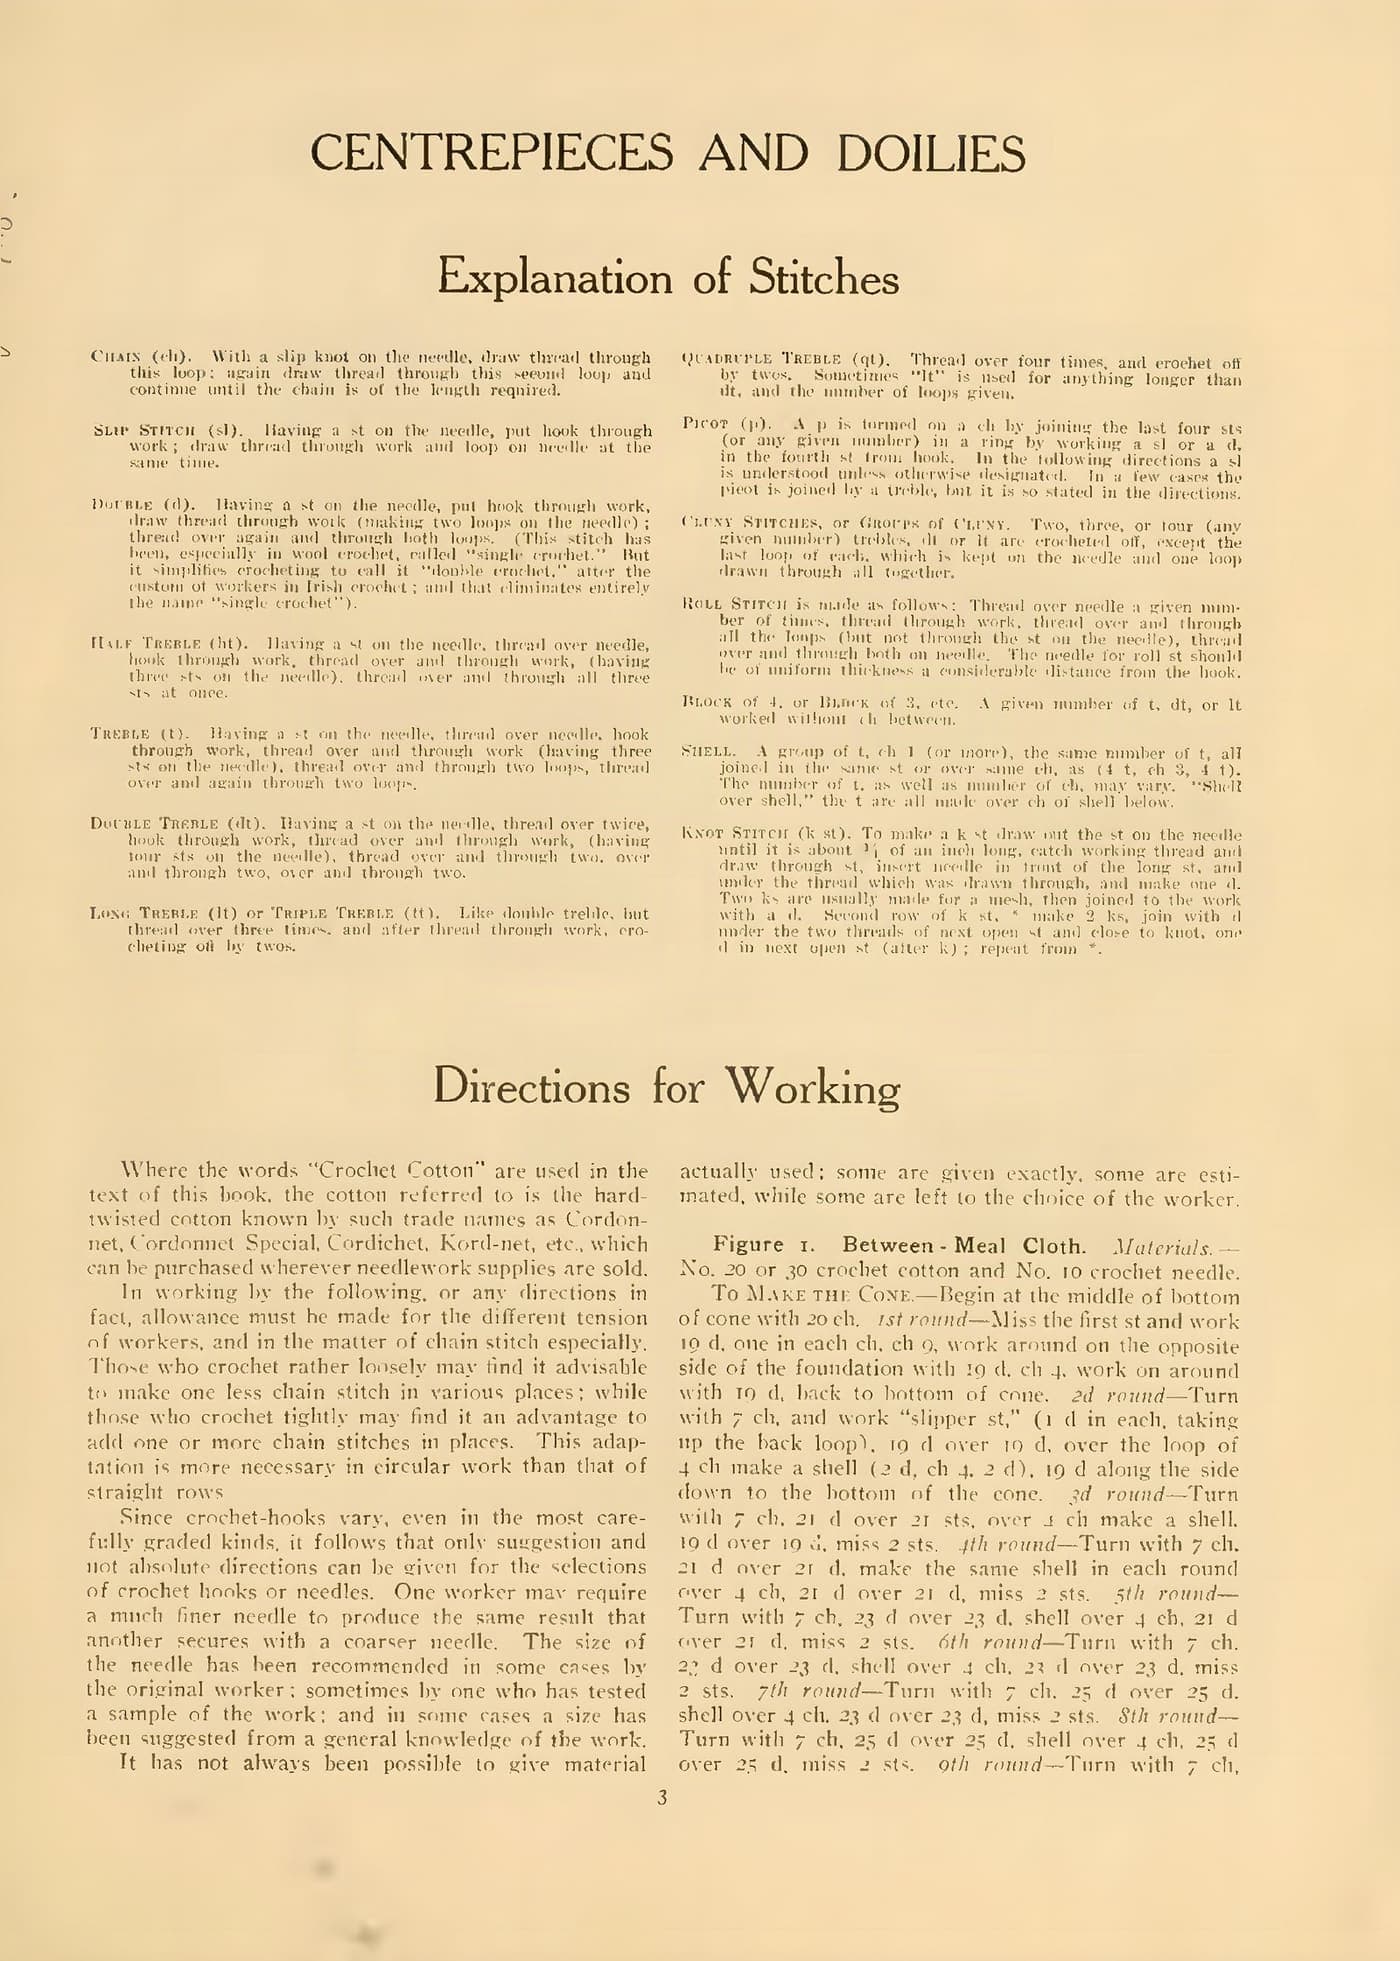
- Modernisation note: Stitches converted by the book's own “Explanation of Stitches” (printed page 3), not by name. This book uses the older British-style naming, so its stitch names do NOT match modern US names: chain (ch) = ch; slip stitch (sl st) = sl st; “double” (d), “put hook through work, thread over hook and draw through, making two loops on needle; thread over again and draw through both loops” = modern US single crochet (sc); “half treble” (h t), thread over, draw through, then “draw through the three sts at once” = modern US half double crochet (hdc); “treble” (t), thread over, draw through, “draw through two, over again and draw through remaining two” = modern US double crochet (dc); “double treble” (d t), thread over twice and work off by twos three times = modern US treble crochet (tr); “long treble” (l t), thread over three times and “work all off by twos” = modern US double treble (dtr). Every stitch in these instructions has been rewritten in the modern US name and abbreviation on that basis.
- Modernisation note: The book's abbreviations are written in modern US form: d = sc, h t = hdc, t = dc, d t = tr, l t = dtr, st(s) = st(s), sp = sp, l = lp, bl = block, “miss” = sk, “thread over (the hook/needle)” = yo, “repeat” = rep, “needle” (for the crochet hook) = hook. Ordinal row names (“1st row”, “2d row”) are written Row 1, Row 2, and “1st round”/“2d round” as Rnd 1, Rnd 2. Section headings (Heading, Edge, Foundation) are the book's own where it prints them.
- Modernisation note: The book prints each design as one or two solid paragraphs; these have been split into one row, round or step per line. Stitch order and counts are unchanged. Where the book's own repeat markers (*, **, ***) span several rows they are kept as printed.
- Modernisation note: Thread sizes are the 1913 Cordonnet numbering. “No. N Cordonnet crochet cotton” is given as modern size N crochet thread, which is an approximation: modern size numbering runs the same way (higher number = finer thread) but the exact diameters are not identical. No yardage is printed anywhere in the book, so none is given here.
- Modernisation note: Hook sizes are the book's own steel numbering (“For No. 100 cotton use a No. 13 hook, for No. 70 cotton a No. 12 hook; for coarser cottons use a hook that will carry the thread easily without splitting it”). The 1913 steel numbering is not identical to the modern one, so every metric size below is approximate and should be adjusted to the thread.
- Modernisation note: No gauge and no finished measurements are printed for this design; work a sample repeat and adjust the hook until the lace lies flat at the width you want.
- Modernisation note: Metric conversions added.
Row progress: 0 of 22 done (0%)
Edging
0 of 22 done- Ch 25.Mark row complete
- Row 1: In the 5th st from hook make a shell of (3 dc, ch 2, 3 dc), ch 4, sk 4, 1 dc in the next st, ch 2, 1 dc in the same st, ch 4, sk 4, shell in the next st, ch 2, sk 2, 1 dc in the next st, ch 5, sk 4, 1 sc in the next st; turn.Mark row complete
- Row 2: Ch 3, 12 dc under the ch 5, ch 2, shell in shell, ch 3, 7 dc under the ch 2, ch 3, shell in shell; turn.Mark row complete
- Row 3: * Ch 3, shell in shell, ch 2, 6 dc with ch 1 between each, between the next 7 dc, ch 2, shell in shell, ch 2, * 13 dc with ch 1 between each, between the 13 dc, making the 13th dc under the ch 3 at the end of the 12 dc; turn.Mark row complete
- Row 4: Ch 3, 12 dc between the last 12 dc, with ch 1 between each, ch 2, shell in shell, ch 1, 3 dc under each ch 1 between the dc on the fan, ch 3, shell in shell; turn.Mark row complete
- Row 5: * Ch 3, shell in shell, ch 4, 1 dc in the 8th dc on the fan, ch 2, 1 dc in the same st, ch 4, shell in shell, ch 2, * 1 dc under each ch 1, with ch 2 between them; turn.Mark row complete
- Row 6: * Ch 3, 2 dc under the first ch 2, ch 2, 2 dc under the same ch, sk 1 sp, a shell of (2 dc, ch 2, 2 dc) in the next sp, rep to the end of the fan, ch 2, * shell in shell, ch 3, 7 dc under the ch 2, ch 3, shell in shell; turn.Mark row complete
- Row 7: * Ch 3, shell in shell, ch 2, 1 dc between each of the next 7 dc with ch 1 between, ch 2, shell in shell, ch 2, * shell in shell of (3 dc, ch 2, 3 dc) across the fan; turn.Mark row complete
- Row 8: Ch 3, shell in shell of (4 dc, ch 2, 4 dc) across the fan, ch 2, shell in shell, ch 1, 3 dc under each ch 1 across the fan, ch 1, shell in shell; turn.Mark row complete
- Row 9: Like Row 5 from * to *, shell in shell across the fan (4 dc, ch 3, 4 dc); turn.Mark row complete
- Row 10: Ch 3, 10 dc under each ch 3 in the shells on the fan, ch 2, shell in shell, ch 3, 7 dc under the ch 2, ch 3, shell in shell; turn.Mark row complete
- Row 11: Like Row 3 from * to *, 1 dc on the 1st of the 10 dc, ch 5, 1 sc in the 5th dc, ch 3, sl st in the 3rd dc on the next scallop; turn.Mark row complete
- Row 12: 12 dc under the ch 5, ch 2, shell in shell, ch 1, 3 dc under each ch 1 on the fan, ch 1, shell in shell; turn.Mark row complete
- Row 13: Like Row 5 from * to *, 13 dc with ch 1 between each, between the 13 dc; after making the 13th dc, make a sl st in the 3rd dc from the last sl st, ch 3, 1 sl st in the 2nd dc on the next scallop; turn.Mark row complete
- Row 14: Ch 2, 1 dc between the next 2 dc, ch 2, 1 dc between the next 2 dc, rep across the fan, ch 2, shell in shell, ch 3, 7 dc under the ch 2, ch 3, shell in shell; turn.Mark row complete
- Row 15: Like Row 7 from * to *, 1 dc under each ch 1, with ch 2 between; after the last dc make 1 sl st in the 3rd dc from the last sl st; turn.Mark row complete
- Row 16: Like Row 6 from * to *, shell in shell, ch 1, 3 dc under each ch 1 across the fan, ch 1, shell in shell; turn.Mark row complete
- Row 17: Like Row 5 from * to *, shell in shell (3 dc, ch 2, 3 dc) across the fan; turn.Mark row complete
- Row 18: Ch 3, shell in shell of (4 dc, ch 2, 4 dc) across the fan, ch 2, shell in shell, ch 3, 7 dc under the ch 2, ch 3, shell in shell; turn.Mark row complete
- Row 19: Like Row 3 from * to *, shell in shell across the fan (4 dc, ch 3, 4 dc); turn.Mark row complete
- Row 20: Ch 3, 10 dc under each ch 3 across the fan, ch 2, shell in shell, ch 1, 3 dc under each ch 1 across the fan, ch 1, shell in shell.Mark row complete
- Rep for the length.Mark row complete
Working on:
Ch 25.
Continue this pattern
The rest of the Figure 91 Shell and Opening Fan Edging (1913) pattern is in the Vintage Crochet Edgings & Trims
Still to come in the full pattern:
- Finishing
Included with 618 patterns for $9 — $0.01 per pattern.
Errata
No corrections have been published for this pattern. Found a mistake? Tell us and we will log the fix here with a date.
Your notes on this pattern
Keep track of the yarn, hook and changes you used. Saved in this browser only — nobody else can see it.
Frequently asked questions
Where is the Figure 91. Edging pattern from?
It was published as "Figure 91. Edging" in The Priscilla Crochet Book: Edgings and Insertions by The Priscilla Publishing Company, Boston in 1913. The publication is in the public domain in the United States; this version is transcribed and modernised by crochetpatterns.io.
What yarn or thread do I need for the Figure 91. Edging?
Size 100 crochet thread. Not printed — the book gives no thread quantity for any design.
What hook should I use?
Start with 0.75 mm (US steel 14) — approximate for the book's No. 13 hook; change size until the thread runs easily without splitting and the lace lies flat. Gauge: No gauge printed. Work a sample repeat and match the hook to the thread.