
Free crochet pattern
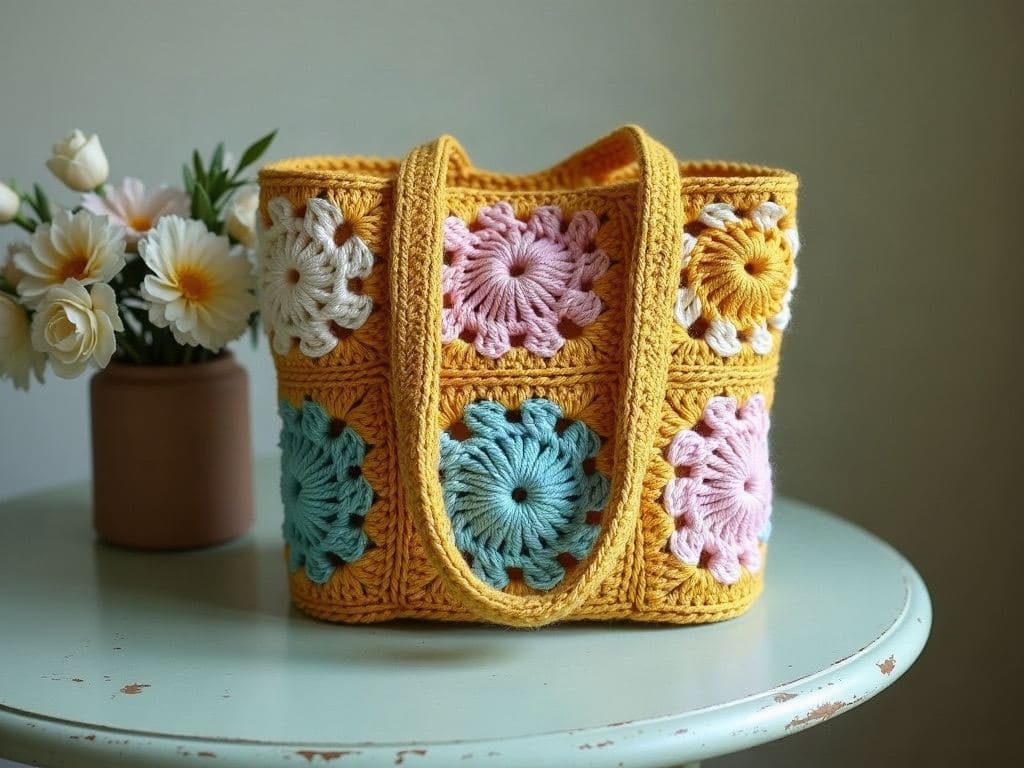
Eight-square granny tote bag
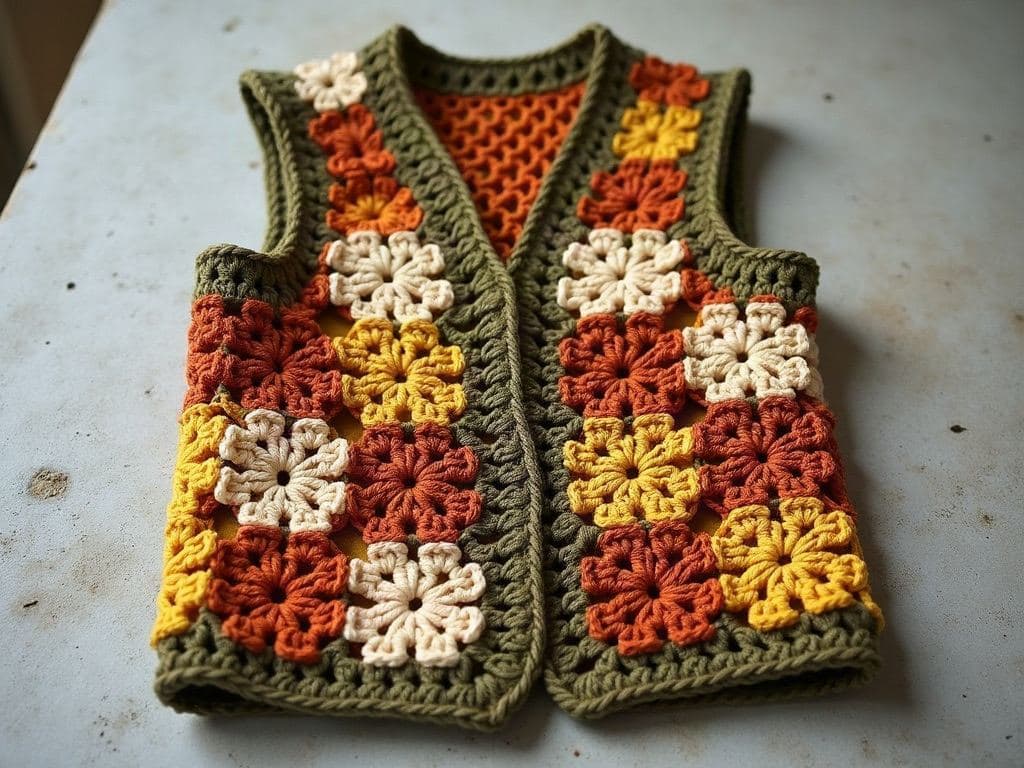
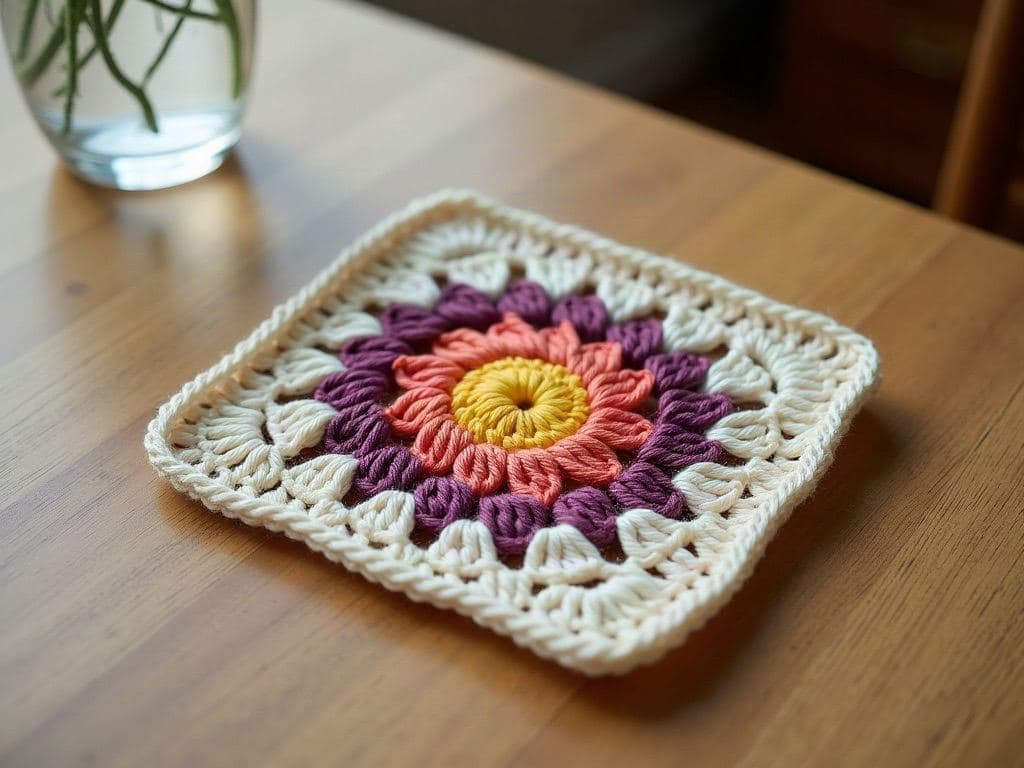
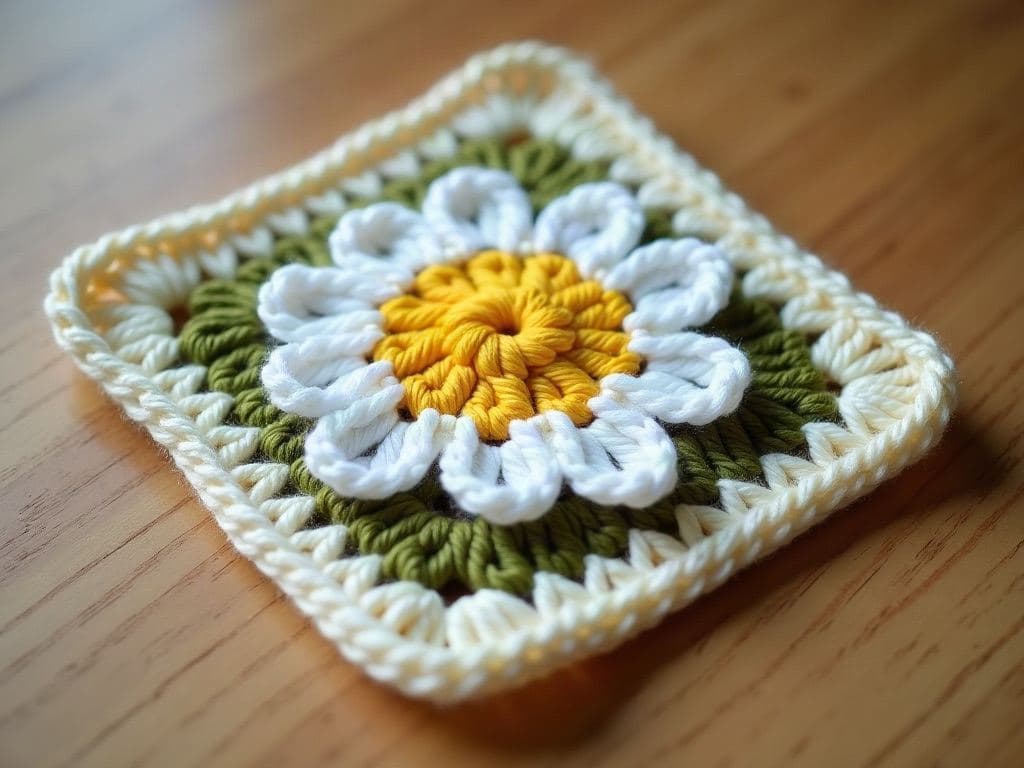
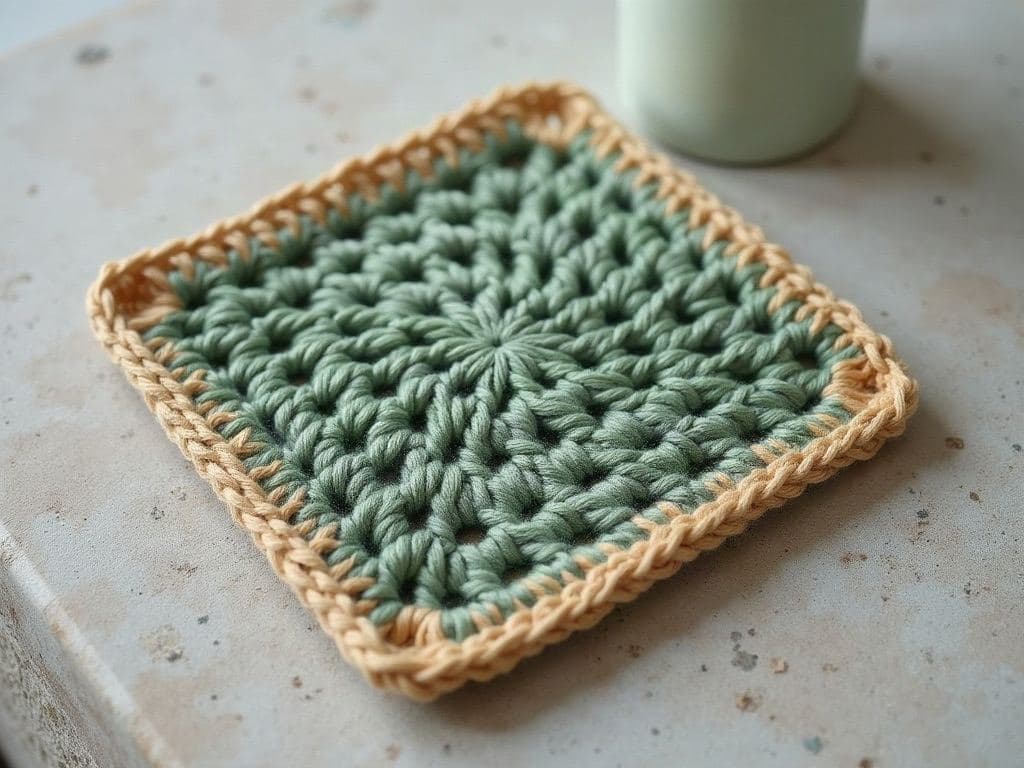
This tote bag is made from eight classic six-inch granny squares, four for the front and four for the back, seamed into a 12 inch square bag. A single crochet top band with built-in handles finishes it. It is an easy way to turn a stack of leftover squares into something useful.
By the crochetpatterns.io editorial team · Updated · Editorial policy · pattern testing in progress
| Detail | Value |
|---|---|
| Skill level | Easy |
| Yarn weight | Medium (#4) |
| Yardage | 280–330 yd (256–302 m) |
| Hook | 5 mm |
| Gauge | One 5-round classic granny square = 6 in (15 cm). |
| Finished size | 12 × 13.5 in (30 × 34 cm) plus 8 in (20 cm) handle drop |
| Time | about 5.5 hours |
Materials
- Worsted weight (#4) cotton or acrylic yarn in several colours, about 300 yd / 275 m total
- 5 mm (US H-8) crochet hook
- Tapestry needle
- Optional fabric lining, 13 × 28 in (33 × 71 cm)
Yarn Kit & Substitution Options
This pattern calls for 330 yards of weight #4 yarn. Select a suggested yarn to see required skeins and estimated cost:
Caron Simply Soft · 100% Acrylic
315 yds per skein · High-yield yardage, silky no-scratch texture
2 skeins required
approx. $$10.98 total
Abbreviations (US terms)
- chain
- double crochet
- slip stitch
- single crochet
- skip
- space
- chain space
- stitch
- stitches
- repeat
- round
- right side
Notes before you start
- Make 8 classic granny squares (5 rounds) following the Classic Granny Square pattern on this site.
- Block all squares to the same size before joining.
Row progress: 0 of 8 done (0%)
Assembly
0 of 3 done- Join 4 squares into a 2 × 2 panel for the front by holding squares right sides together and slip stitching through the back loops.Mark row complete
- Join the other 4 squares into a matching back panel.Mark row complete
- Place the panels right sides together and slip stitch through both layers along the two sides and the bottom. Turn right side out.Mark row complete
Top band and handles
0 of 5 done- Rnd 1: Join yarn at one side seam. Ch 1, sc evenly around the top opening, working 24 sc across the top of each square, sl st in first sc. (96 sc)Mark row complete
- Rnds 2–3: Ch 1, sc in each st around, sl st in first sc. (96)Mark row complete
- Rnd 4: Ch 1, sc in first 12 sts, ch 40, sk next 24 sts, sc in next 24 sts, ch 40, sk next 24 sts, sc in last 12 sts, sl st in first sc. (48 sc, 2 ch-40 loops)Mark row complete
- Rnd 5: Ch 1, sc in each sc and 40 sc in each ch-40 loop, sl st in first sc. (128)Mark row complete
- Rnd 6: Ch 1, sc in each st around, sl st in first sc. (128)Mark row complete
Working on:
Join 4 squares into a 2 × 2 panel for the front by holding squares right sides together and slip stitching through the back loops.
Finishing
- Fasten off and weave in ends.
- If lining, sew a fabric pouch to fit and hand-stitch it just below the top band.
Errata
No corrections have been published for this pattern. Found a mistake? Tell us and we will log the fix here with a date.
Your notes on this pattern
Keep track of the yarn, hook and changes you used. Saved in this browser only — nobody else can see it.
Frequently asked questions
Does a granny square bag need a lining?
Not for light items. A lining stops small objects falling through the gaps and reduces stretch, so add one for heavier use.
Can I use bigger squares?
Yes. Two 12 in squares per side work the same way; adjust the top band to about 48 sc per square.