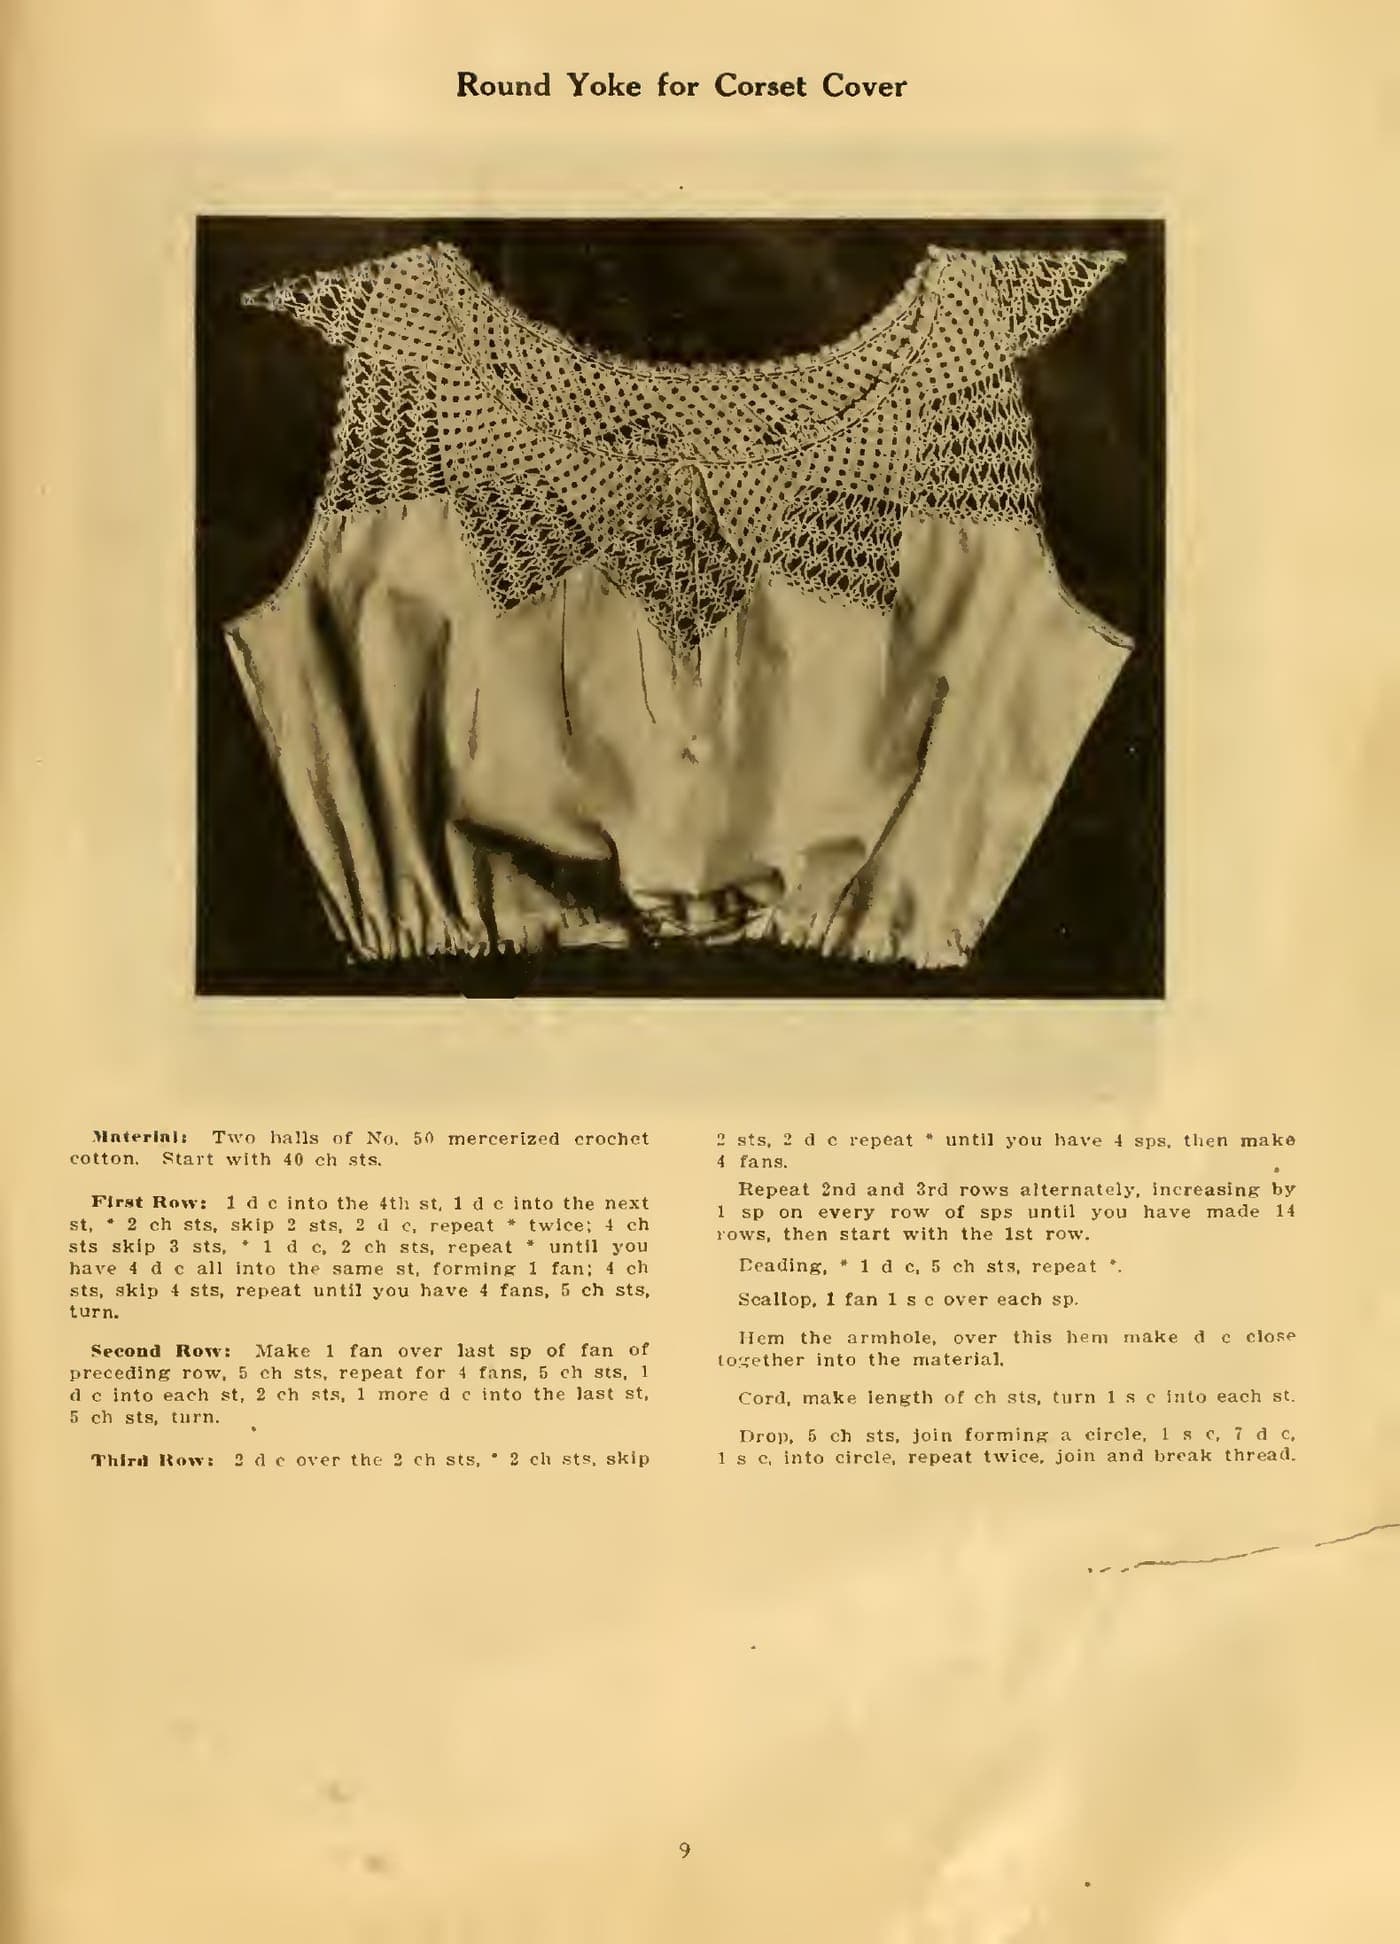

Free preview · full pattern in the Vintage Crochet Fashion
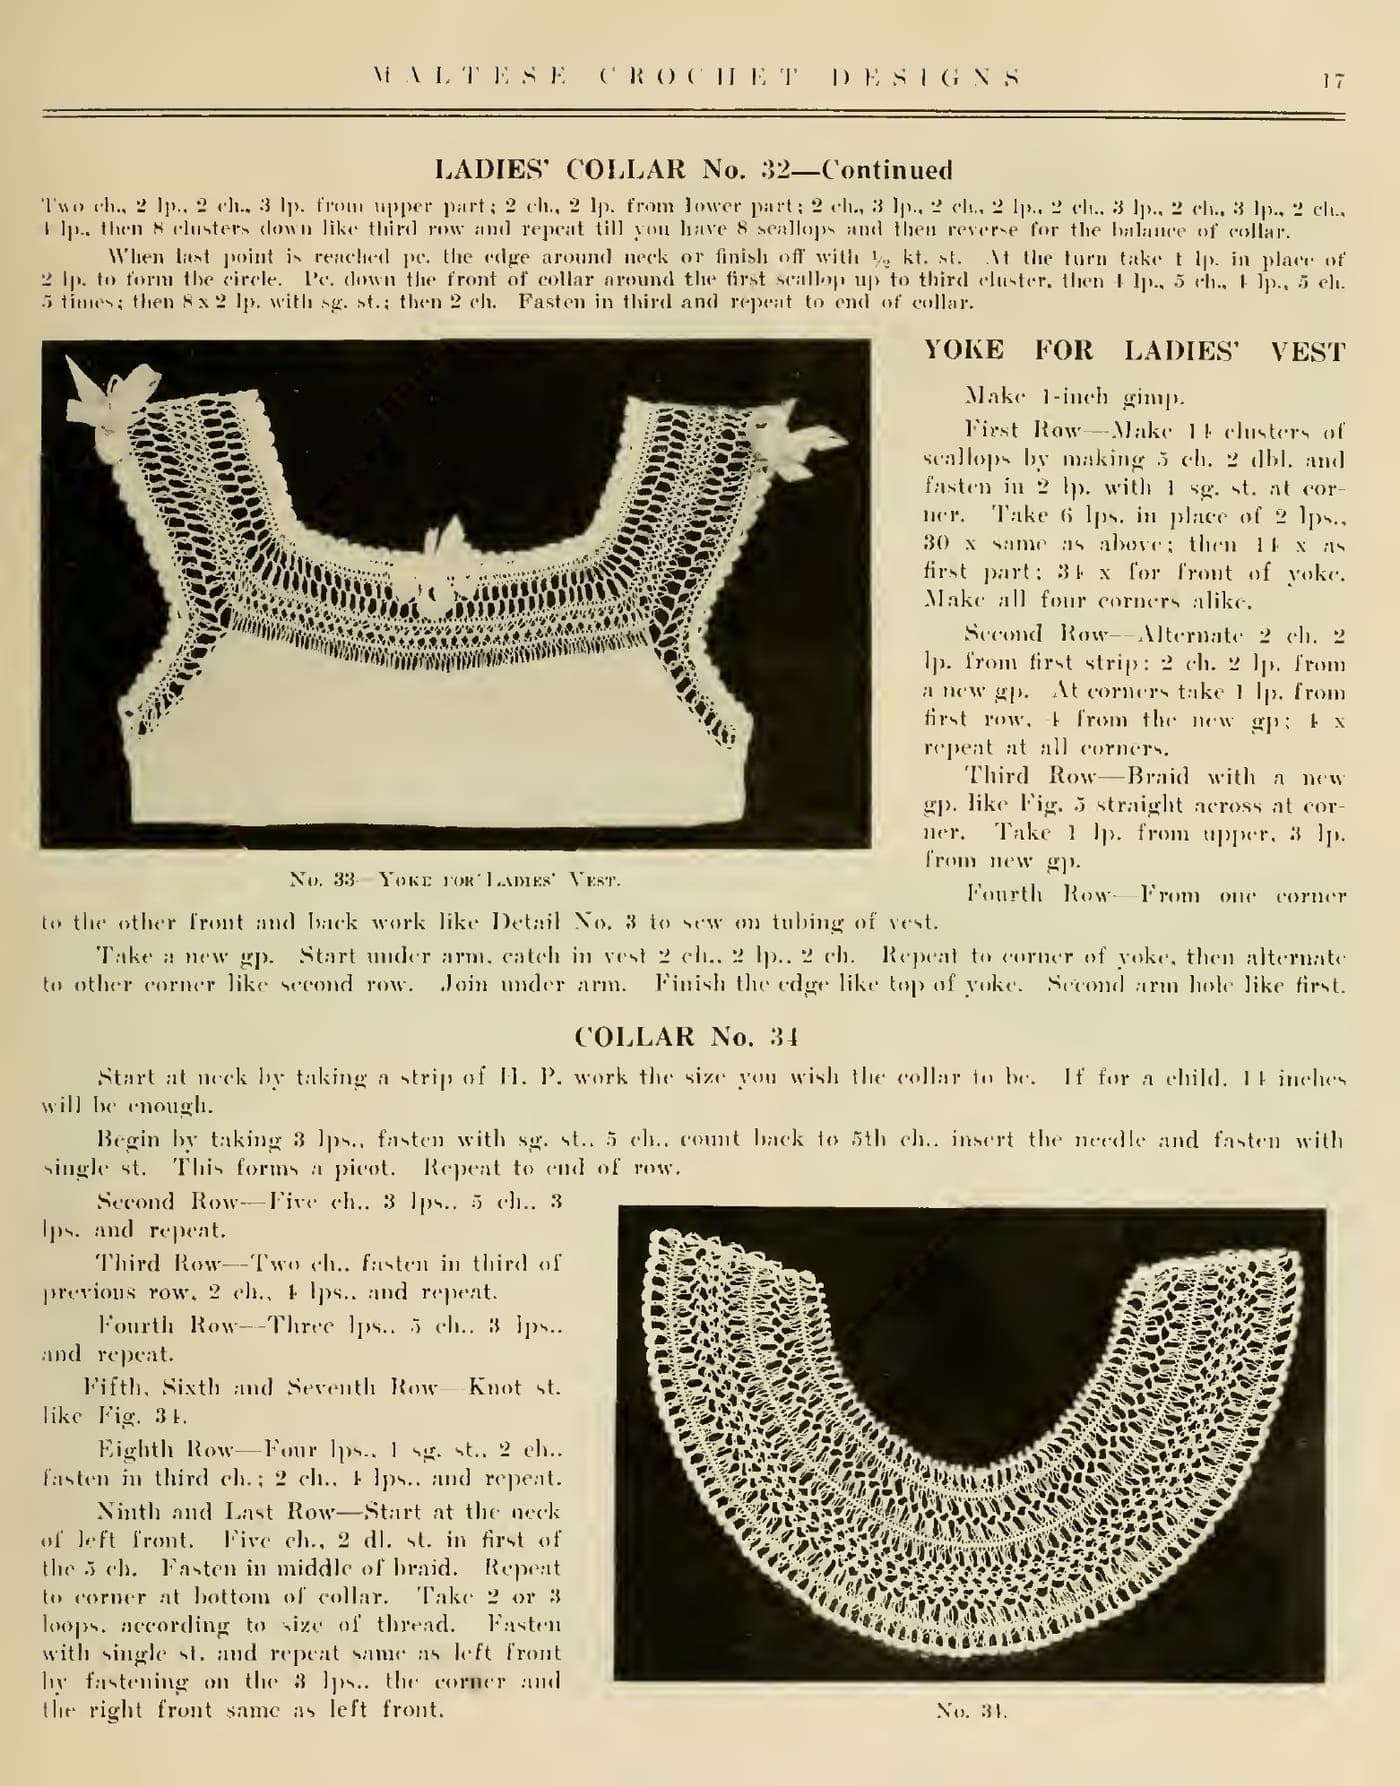
Yoke for a Lady's Vest No. 33 (1915): vintage crochet pattern
A four-row square-cornered yoke on one-inch gimp: a first row of chain-and-double-crochet scallops with a stated cluster count for each side and corner, an alternating joining row, a braided row worked straight across at the corners, and a plain heading row for sewing the yoke to the vest.
By the crochetpatterns.io editorial team · Updated · Editorial policy · pattern testing in progress
| Detail | Value |
|---|---|
| Skill level | Advanced |
| Yarn weight | Lace (#0) |
| Yardage | the book gives no total yardage. (as printed; yardage not given) |
| Hook | 1.5 mm |
| Gauge | No gauge printed; the book sets the fork width instead. |
| Finished size | Not printed; the cluster counts set the size. |
| Time | about 3 hours |
Materials
- Size 20 mercerized cotton crochet thread — approximate; the book prints no thread number for this design — only the gimp width
- Hairpin lace loom or fork, adjustable to the width printed for this design
- Steel crochet hook
- Tapestry needle for the ends
- Hook: Start with a 1.5 mm (US steel 6) hook — approximate, and ours: the book prints no hook size. Change size until the joining rows lie flat.
Yarn Kit & Substitution Options
This pattern calls for 350 yards of weight #0 yarn. Select a suggested yarn to see required skeins and estimated cost:
Caron Simply Soft · 100% Acrylic
315 yds per skein · High-yield yardage, silky no-scratch texture
2 skeins required
approx. $$10.98 total
Abbreviations (US terms)
- chain
- slip stitch
- single crochet
- double crochet
- loop
- repeat
- row
Notes before you start
- Source: "Yoke for Ladies' Vest" (33), The New Maltese Crochet Designs, Complete With Instructions, The Riley-Francis Co., Covington, Kentucky, 1915. Public domain in the USA.
- As printed — materials: Hairpin gimp one inch in width; A vest to set the yoke into. Gauge: Not given.
- Modernisation note: Stitches are converted by this book's own key (“Abbreviations of Terms”, book page 6, images/p-08.jpg) read together with the working text, not by the look of the abbreviation or the date. The key list is: Ch. chain; S. C. single crochet; D. C. double crochet; Sl. St. slip stitch; P. picot; R. row; Ro. round; St. stitch; Sts. stitches; Sk. skip; Lp. loop; Gp. gimp. Unusually, the same page then defines the stitches. Its D. C. is worked thread over the needle, into the next stitch, draw through, take off two, take off the two last — the modern US DOUBLE crochet, so dc is written unchanged here. Note that Clark's 1923 book elsewhere in this collection prints “D c” for a stitch that is the modern half double, and the London books in this collection use the British ladder in which a double is the US single; this book is neither, which is why its ladder was checked against its own page rather than carried across. The key's S. C. definition is defective as printed — it reads as a slip stitch, and the key's separate Slip Stitch definition repeats nearly the same words — so s. c. was settled from the working text instead: Figure 1 on book page 7 tells the worker to take up the front of the left-hand loop and “make an ordinary single crochet”, the standard hairpin move, so s. c. is the modern US SINGLE crochet and is written sc here. The key defines Picot as chain 5 closed into the first chain, so every unqualified picot below is a ch-5 picot. Tr. and dbl. tr. occur in some designs but are defined nowhere in the book.
- Modernisation note: This is hairpin lace, which the book calls Maltese crochet. The loop braid (the book's “gimp”, abbreviated gp. or H. P.) is made first on a two-pronged fork set to the printed width, then joined and edged with a crochet hook. The book explains the whole technique itself and refers nothing outside its own covers: making the gimp on the fork is Figure 1 (book page 7), the finished gimp is Figure 2, the plain single-crochet heading row is Figure 3, the Lovers' Knot or knot stitch and the chain-5 beading row (Figure 4) and the braiding join (Figure 5) are on book page 8, and the medallion is Detail No. 1 on book page 10. The book sells its own adjustable fork, but any hairpin lace loom or fork set to the printed width will do; the printed widths are carried through below exactly as given.
- Modernisation note: The knot stitch (the book's Lovers' Knot) is defined on book page 8: draw one long chain, take the thread on the hook from the back of that long chain so the single back thread and the chain link are both on the hook, then draw the thread through both — that half is what the book calls the half knot stitch — and repeat the half a second time to complete the whole knot. The book adds two working cautions kept here: make every stitch the same length, and “No widening done in Lovers' Knot. You must provide for that in first row.”
- Modernisation note: The book's wording is written in modern US form: lp./lps. = loop(s); gp. and H. P. = the hairpin gimp (the loop braid); sg. st. and se. st. = sc; kt. st. = knot stitch; dbl. = dc; pc. = picot; ch. = ch; sl. = sl st or slip the loops onto the hook, according to what the row is doing. “Fasten” is written join or sl st according to the row.
- Modernisation note: The printed paragraphs are split into one row or step per line; stitch order and counts are unchanged. Ordinal row names (“First Row”, “Second Row”) are written Row 1, Row 2. Section headings are added for navigation. The OCR of this scan garbles numerals badly — it prints 4 as “t” or “f”, 3 as “8”, and “lps.” as “Ips.” or “lps” — and those quirks are kept in the excerpts and not in the rows, where the page image was used instead.
- Modernisation note: Book page 5 warns that thread numbers were not standard between makers: “There are so many domestic threads on the market that even with the same number they differ in size.” It recommends cordonnet rather than a soft finish, and sizes 15 to 30 for beginners. Any modern size given here is approximate for that reason.
- Modernisation note: No hook size is printed for any design in this book. Book page 5 says so explicitly: “The size and number of crochet hook depends entirely upon the size of thread used and on the worker, as no two individuals work alike.” Any metric hook suggested here is therefore ours, read across from the thread, not from the page.
- Modernisation note: No gauge is printed for this design; the book prints no gauge or tension anywhere. Instead it sets the fork width, which fixes the depth of the loop braid, and that printed width is given above. Work a sample and change hook size until the joining rows lie flat.
- Modernisation note: No yardage is printed for this design. The book gives a quantity only for a handful of pieces (a spool, a ball, or a length of gimp in yards) and never a total yardage of thread, so none is given here.
- Modernisation note: Check: no colour is printed for this design. The plates photograph as a plain light thread, and the book's only colour remarks are general ones — an edge of coloured silk “in any preferred shade” for the handkerchief, and pale blue, pale green or old gold suggested for a two-colour fringe.
- Modernisation note: Figure 3, the book's heading row, is defined on book page 7: after the lace comes off the prongs, “a plain row of s. c. stitches is worked on either one side or both sides, for the purpose of sewing to linen, as beading for waists or inserting. For circle omit the ch. st. and make S. C. in each loop.” Check: the book states the chain only by telling you to omit it for a circle, so the straight version is read here as 1 ch between single crochets. The number of chains is not printed and is not invented.
- Modernisation note: Figure 5, the book's braiding join, is defined on book page 8: “Braid two strips of Hairpin lace by slipping one loop of first strip through one loop of second strip for straight strip.” Its scallop is “ch. 5, 2 d. c. in single stitch; fasten in 2 loops with s. c. Then 5 ch., 2 d. c., etc.”, and for a circular piece “loop enough loops to form a flat piece, taking 3 loops for lower edge and 2 for upper.”
- Modernisation note: Check: Row 4 is printed as “work like Detail No. 3 to sew on tubing of vest”. The book numbers its Details and its Figures in one series — Detail No. 3 and Figure 3 are the same plain single-crochet heading row defined on book page 7, and that row's stated purpose there is “for the purpose of sewing to linen”, which is exactly what Row 4 is doing. That is the reading used above.
- Modernisation note: Check: the cluster counts of Row 1 (14, then 30, then 14, then 34) are all printed on the page and are quoted unchanged. The OCR mangles the first as “1!” and the corner repeat as “f x”; the page image reads 14 and 4 times, which are the readings used above.
- Modernisation note: Check: no thread number is printed for this yoke, only the gimp width, and no finished measurement is printed. Neither has been invented — the size follows from the printed cluster counts and the wearer's vest.
- Modernisation note: Check: the book does not print how the yoke is shaped at the shoulder or how deep the armhole should be; it says only to start under the arm and join under the arm. Nothing has been supplied for that.
Row progress: 0 of 5 done (0%)
Yoke
0 of 5 done- Make gimp 25 mm (1 in) in width.Mark row complete
- Row 1: make 14 clusters of scallops by working ch 5, 2 dc, and join in 2 loops with 1 sc at the corner. Take 6 loops in place of 2 loops at the corner itself. Work 30 more the same as above; then 14 more as the first part; then 34 for the front of the yoke. Make all four corners alike.Mark row complete
- Row 2: alternate — ch 2, 2 loops from the first strip; ch 2, 2 loops from a new gimp. At the corners take 1 loop from the first row and 4 from the new gimp, repeating that 4 times at all corners.Mark row complete
- Row 3: braid with a new gimp as in Figure 5, straight across at the corner. Take 1 loop from the upper strip and 3 loops from the new gimp.Mark row complete
- Row 4: from one corner to the other, front and back, work a plain heading row as in Figure 3, to sew on to the tubing of the vest.Mark row complete
Working on:
Make gimp 25 mm (1 in) in width.
Continue this pattern
The rest of the Yoke for a Lady's Vest No. 33 (1915) pattern is in the Vintage Crochet Fashion
Still to come in the full pattern:
- Armholes
- Finishing
Included with 71 patterns for $15 — $0.21 per pattern.
Errata
No corrections have been published for this pattern. Found a mistake? Tell us and we will log the fix here with a date.
Your notes on this pattern
Keep track of the yarn, hook and changes you used. Saved in this browser only — nobody else can see it.
Frequently asked questions
Where is the Yoke for Ladies' Vest pattern from?
It was published as "Yoke for Ladies' Vest" in The New Maltese Crochet Designs, Complete With Instructions by The Riley-Francis Co., Covington, Kentucky in 1915. The publication is in the public domain in the United States; this version is transcribed and modernised by crochetpatterns.io.
What yarn or thread do I need for the Yoke for Ladies' Vest?
Size 20 crochet cotton (approximate). Not printed — the book gives no total yardage.
What hook should I use?
Start with a 1.5 mm (US steel 6) hook — approximate, and ours: the book prints no hook size. Change size until the joining rows lie flat. Gauge: No gauge printed; the book sets the fork width instead.