
Free preview · full pattern in the Vintage Crochet Edgings & Trims
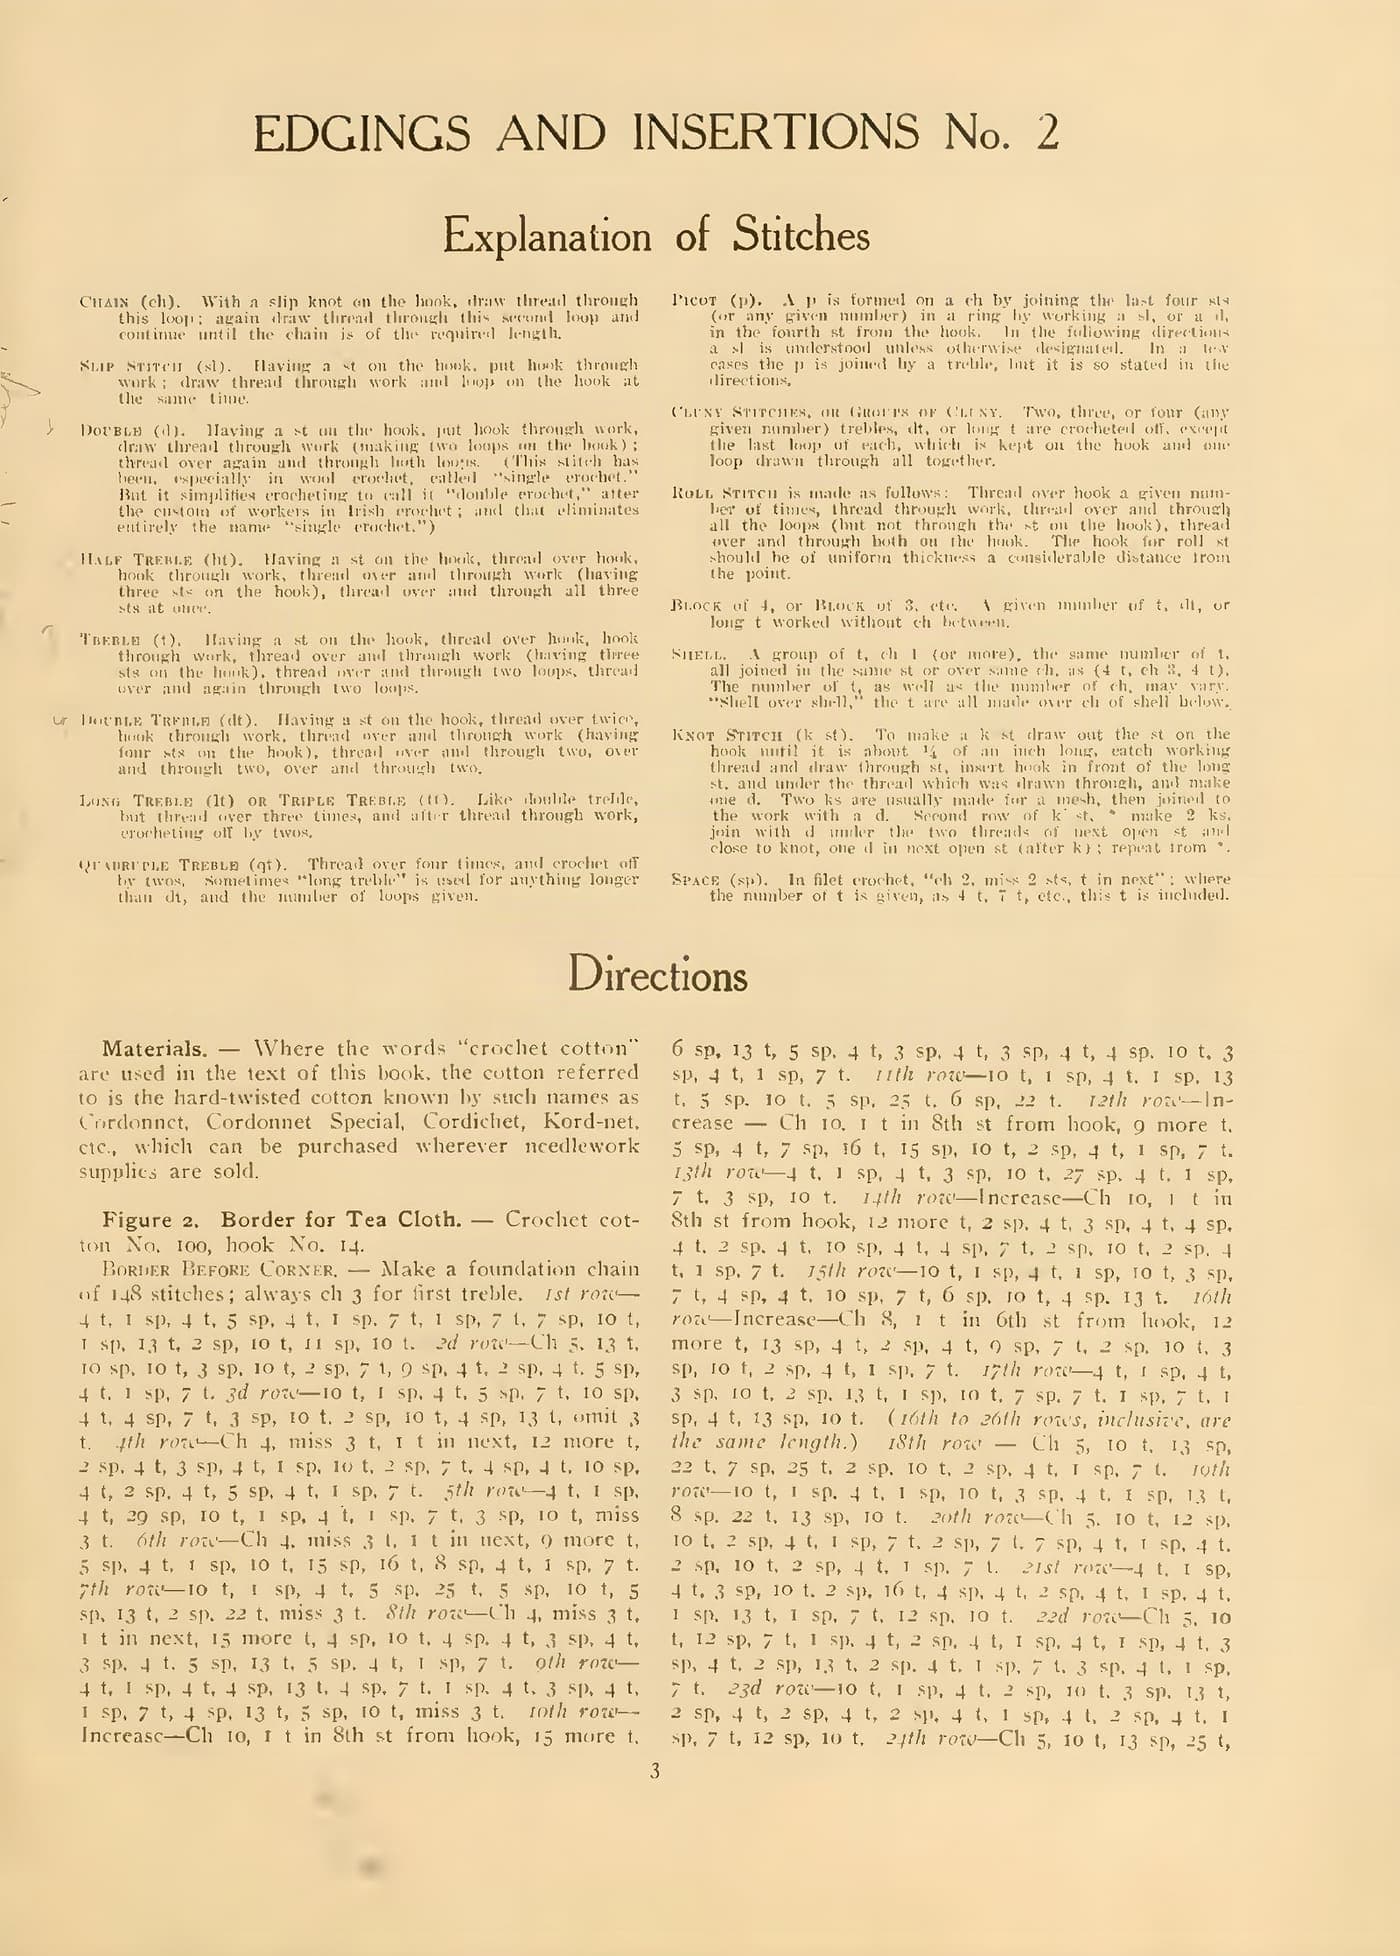
Venetian Crochet Insertion (1916): vintage crochet pattern
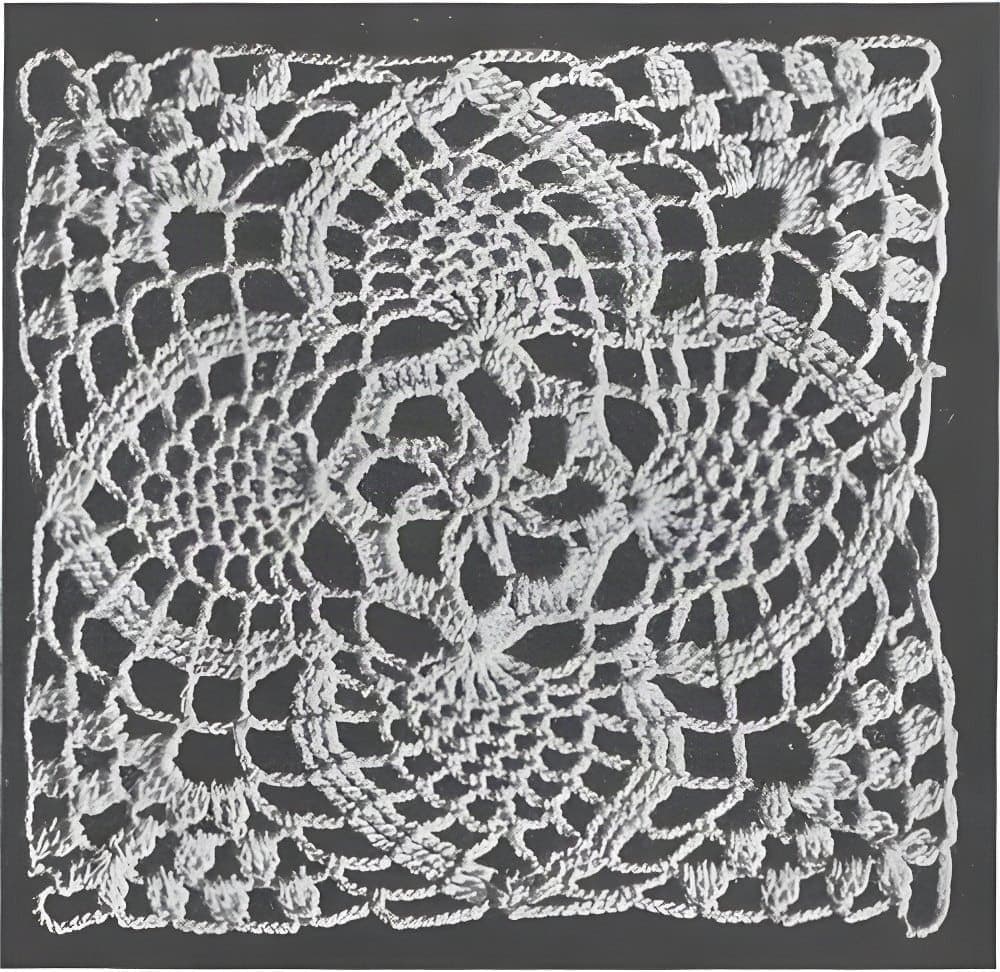
An insertion built from separate pieces: a small square worked from a chain-3 ring with four single-crochet pyramids decreased off each side, plus plain squares of ten rows of back-loop single crochet, joined afterwards by a chain-and-treble net that is then covered with single crochet.
By the crochetpatterns.io editorial team · Updated · Editorial policy · pattern testing in progress
| Detail | Value |
|---|---|
| Skill level | Advanced |
| Yarn weight | Lace (#0) |
| Yardage | the book gives only the thread number. (as printed; yardage not given) |
| Hook | 1.25 mm |
| Gauge | No gauge printed. |
| Finished size | Not printed. Made up to the length of insertion desired. |
| Time | about 5 hours |
Materials
- Size 30 mercerized cotton crochet thread — approximate; the original was Six Cord Mercerized Crochet Cotton No. 30
- Steel crochet hook
- Tapestry needle for the ends
- Hook: Start with about 1.25 mm (US steel 8) — approximate and ours, not printed. Change size until the work lies flat.
Yarn Kit & Substitution Options
This pattern calls for 350 yards of weight #0 yarn. Select a suggested yarn to see required skeins and estimated cost:
Caron Simply Soft · 100% Acrylic
315 yds per skein · High-yield yardage, silky no-scratch texture
2 skeins required
approx. $$10.98 total
Abbreviations (US terms)
- chain
- slip stitch
- single crochet
- double crochet
- treble crochet
- double treble crochet
- stitch
- stitches
- repeat
- skip
- space
- row
- back loop only
- decrease
Notes before you start
- Source: "Venetian Crochet Insertion", Clark's O. N. T. Book of Needlework, The Clark Thread Company, Newark, New Jersey, 1916. Public domain in the USA.
- As printed — materials: Six Cord Mercerized Crochet Cotton No. 30. Gauge: Not given.
- Modernisation note: Stitches are converted by this book's own key, read for this book and not assumed from the brand or the year. The abbreviation list is printed on book page 41 under “Abbreviations Used in Crocheting” — “st = stitch; ch = chain stitch; sl st = slip stitch; sc = single crochet; dc = double crochet; tr c = treble crochet; p = picot; d = dot; w st = wound stitch; m = meshes”, with a star that “Means to repeat directions printed between them as many times as stated in each case.” The stitches are then defined in words on book page 42: Single Crochet — “Insert the hook in the foundation chain and draw thread through, catch thread around hook and draw through both loops on hook”, the modern US single crochet; Double Crochet — “Catch thread around hook, insert in chain, draw thread through; catch thread around hook, draw through two loops, thread around hook and draw through last two loops. Always start a d c row with 3 ch in place of the first dc”, the modern US DOUBLE crochet; Treble Crochet — “The treble crochet is made similarly to the double crochet. Start with 4 ch and take thread twice over needle, drawing three times through two”, the modern US treble. So this 1916 book uses modern US heights and no re-lettering is needed: its dc is written dc and its tr c is written tr. This matters because the same firm's 1923 Book No. 19 does the opposite, printing “D c” for a modern half double and “Tr” for a modern double; the two books were checked separately and do not agree.
- Modernisation note: The book's wording is written in modern US form: “needle” and “hook” both mean the hook and are written hook; “thread over needle” = yo; “skip” = sk; “catch”/“fasten” at the end of a circuit = sl st or join, according to what the row is doing; the book's star ★ is written * and “repeat from ★” = rep from *; tr c = tr; sh st = shell stitch. The OCR of this scan prints the ordinal “1st” as “Ist” and the letters c/e interchangeably in places (“de” for “dc”, “se” for “sc”); those quirks are kept in the excerpts and not in the rows.
- Modernisation note: The printed paragraphs are split into one row, round or step per line; stitch order and counts are unchanged. Section headings added for navigation. Ordinal row names (“1st row”, “2nd row”) are written Row 1, Row 2, and the book's word “row” is kept even where the work goes around, as the book itself does.
- Modernisation note: Clark's O. N. T. crochet cotton numbers are read as roughly equal to the modern crochet thread sizes of the same number — approximate only. The book's own Table of Cotton and Hook Sizes on book page 41 pairs Clark's O. N. T. Crochet Cotton Nos. 1, 3, 5, 10, 15, 20, 25, 30, 40, 50, 60, 70, 80 and 100 with Milward's Crochet Hooks Nos. 1 to 14 in that order, and that table is what ties each design's printed hook number to its printed thread.
- Modernisation note: The Milward's hook numbers printed here are 1916 maker's numbers and do not map onto the modern US steel scale, so any metric hook suggested below is ours, read across from the thread size and not printed in the book; the printed hook number is kept in the original materials. The book's own advice on page 41 is to test first: “it is wise to do a little experimenting with the cotton and needle in the sizes suggested in the directions in order to determine that the needle really is the correct size for each individual worker.”
- Modernisation note: No gauge is printed for this design. The book prints a stitch count per inch for its two filet yokes only, and those are the squared-diagram designs that are not transcribed here. Work a sample and change hook size until the work lies flat and matches the photograph.
- Modernisation note: No yardage is printed for this design. The book gives ball counts only for the baby jacket and cap, and no yardage anywhere, so none is estimated here.
- Modernisation note: No finished measurement is printed for this design.
- Modernisation note: Check: no colour is printed for this design. It photographs as a plain light thread, and the book's own O. N. T. Articles pages list Clark's O. N. T. crochet cottons in white and in colours.
- Modernisation note: The book's “double treble” is defined inline on this page as “the thread taken 3 times around needle”, so it is the modern US treble, one step above the page-42 treble crochet, and is written dtr in the abbreviations but spelled out in the row so the book's own gloss survives.
- Modernisation note: Check: the OCR of the figures paragraph reads “1 tr ec in ring of 3” and “join to the 3 ch of start of o”. Read from image p-069.jpg these are “1 tr c in ring of 3” and “of start of 6”; the stray letters are scan noise.
- Modernisation note: Check: the fifth of the “5 de rows” in the top-and-bottom paragraph is printed “the 5th row of the 5 se row”, mixing dc and sc in the OCR. The page reads sc in both places — the two side panels are worked in single crochet rows — and that is the reading used.
- Modernisation note: Check: the book prints no count of figures or squares per length and no finished width. It says only to make enough “for the length of insertion desired”, and the placement of the little squares is sent to the photograph: “Sew the little squares as shown in picture”.
Row progress: 0 of 6 done (0%)
The figures
0 of 6 done- Work the figures separately. Start on a basis of ch 3 closed for a ring.Mark row complete
- Ch 6, 1 tr in the ring of 3, ch 3, *1 dc in the ring of 3, ch 3 and 1 tr in the ring of 3, ch 3. Rep from * twice. Ch 3 and join to the 3rd ch of the start of the ch-6.Mark row complete
- Now work 1 sc in each ch all around the square, working 3 sc in each tr and in the 3 ch of the start, to form the corners.Mark row complete
- Work sc over the next side of the square. Form the first pyramid by decreasing 1 st at the end of each row and working forward and backward with sc, taking only the back loops of the stitches, until 1 sc is left.Mark row complete
- Work with sl st down the left side of the triangle to the square again. Make the next 3 pyramids the same way, cutting off the thread and fastening.Mark row complete
- It is advisable first to make enough of these figures and small squares for the length of insertion desired.Mark row complete
Working on:
Work the figures separately. Start on a basis of ch 3 closed for a ring.
Continue this pattern
The rest of the Venetian Crochet Insertion (1916) pattern is in the Vintage Crochet Edgings & Trims
Still to come in the full pattern:
- The small squares
- Joining net
- Top and bottom rows
- Side edges
- Finishing
Included with 618 patterns for $9 — $0.01 per pattern.
Errata
No corrections have been published for this pattern. Found a mistake? Tell us and we will log the fix here with a date.
Your notes on this pattern
Keep track of the yarn, hook and changes you used. Saved in this browser only — nobody else can see it.
Frequently asked questions
Where is the Venetian Crochet Insertion pattern from?
It was published as "Venetian Crochet Insertion" in Clark's O. N. T. Book of Needlework by The Clark Thread Company, Newark, New Jersey in 1916. The publication is in the public domain in the United States; this version is transcribed and modernised by crochetpatterns.io.
What yarn or thread do I need for the Venetian Crochet Insertion?
Size 30 crochet cotton (approximate). Not printed — the book gives only the thread number.
What hook should I use?
Start with about 1.25 mm (US steel 8) — approximate and ours, not printed. Change size until the work lies flat. Gauge: No gauge printed.