

Learn to crochet
Safety eyes for crochet and amigurumi: how to add eyes
To add safety eyes to crochet, push the eye's post through the fabric between two stitches before you stuff and close the piece, check the placement, then press the washer firmly onto the post from the inside until it clicks. Choose the eye size by the toy's size and yarn. For babies and young children, embroider the eyes instead.
By the crochetpatterns.io editorial team · Reviewed · Editorial policy
What size safety eyes should you use for amigurumi?
Eye size depends on the size of the head and the look you want: small eyes read as realistic, large eyes as cute. These are common starting points; hold loose eyes against the finished head before fixing them.
| Toy | Common yarn | Typical eye size |
|---|---|---|
| Keychain or mini amigurumi, 2–3 in (5–8 cm) | Fingering, sport or DK | 4–6 mm |
| Small toy, 4–6 in (10–15 cm) | DK or worsted | 6–9 mm |
| Medium toy, 7–10 in (18–25 cm) | Worsted | 10–12 mm |
| Large plush, 12 in (30 cm) and up | Bulky or chenille | 14–20 mm |
How do you attach safety eyes to crochet?
Safety eyes can't be removed once the washer is on, so place them before stuffing and check the position twice.
- Finish crocheting the head to the round before it closes, but don't stuff it yet.
- Mark the eye positions with stitch markers; most patterns give the round and the number of stitches between the eyes.
- Push each eye's post through the fabric between two stitches, not through the middle of a stitch.
- Look at the face from the front and from above; move the eyes until they are level and evenly spaced.
- From the inside, slide the washer onto the post with the flat side facing the fabric.
- Press the washer down firmly until it clicks and sits snugly against the stitches; a thimble or the end of a spool helps.
- Stuff the head and finish the pattern.
How do you embroider eyes on amigurumi?
Embroidered eyes are the safest choice for toys for babies and young children, and they suit simple, sleepy or kawaii faces.
- Stuff the head first so the embroidery sits on a firm surface.
- Thread a tapestry needle with black yarn or embroidery floss and bring it out from the back of the head at the eye position, leaving a tail inside.
- For a round eye, work several straight stitches over the same one or two crochet stitches until the eye is as big as you want.
- For a sleepy eye, make one curved stitch over two or three stitches and tack it down in the middle to hold the curve.
- Take the needle back out at the tail's exit point, tie the two ends together tightly and pull the knot inside the stuffing.
- Add a small white stitch as a highlight, if you like, to make the eye look shiny.
Are safety eyes safe for babies?
Safety eyes are designed to lock in place, but they are small hard parts, and a crochet toy for a baby or a child under three should be made without any parts that could come loose. Embroider the eyes and other features instead, sew every piece on securely, and check toys for wear regularly. If you sell toys, check the toy safety rules that apply where you sell them.
Patterns to practise on
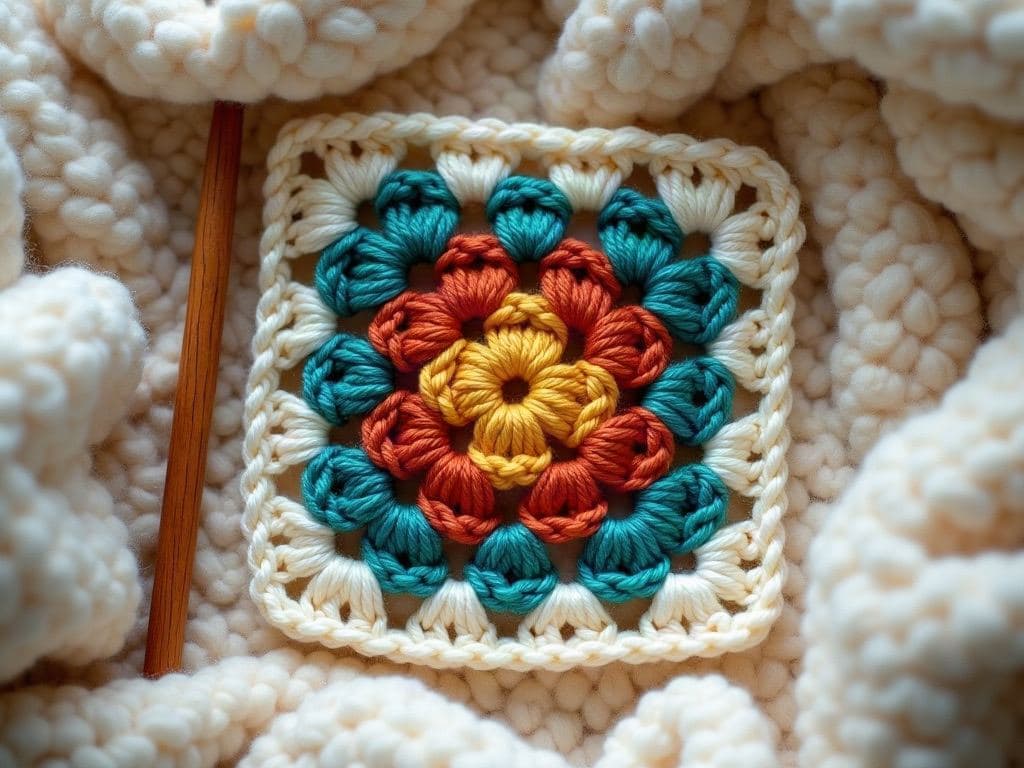
How to crochet a classic granny square
- Skill level
- Beginner
- Yarn weight
- Medium (#4)
- Hook size
- 5 mm hook
- Yardage
- 35 yd
Free pattern
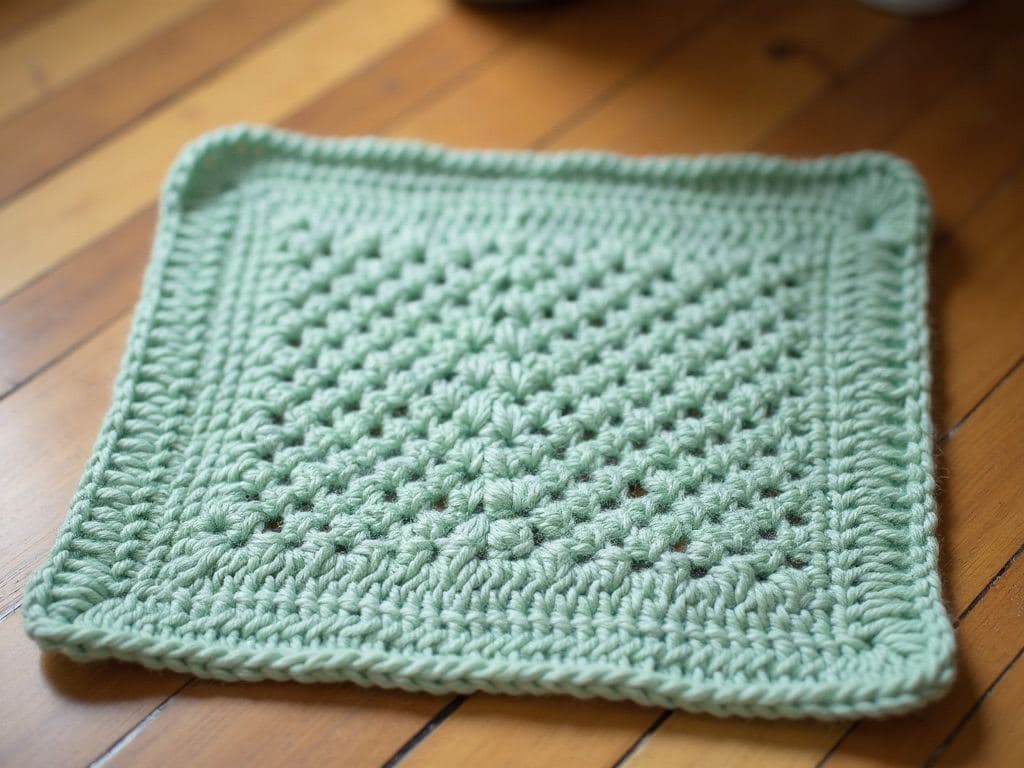
Easy moss stitch crochet dishcloth
- Skill level
- Beginner
- Yarn weight
- Medium (#4)
- Hook size
- 5 mm hook
- Yardage
- 100 yd
Free pattern
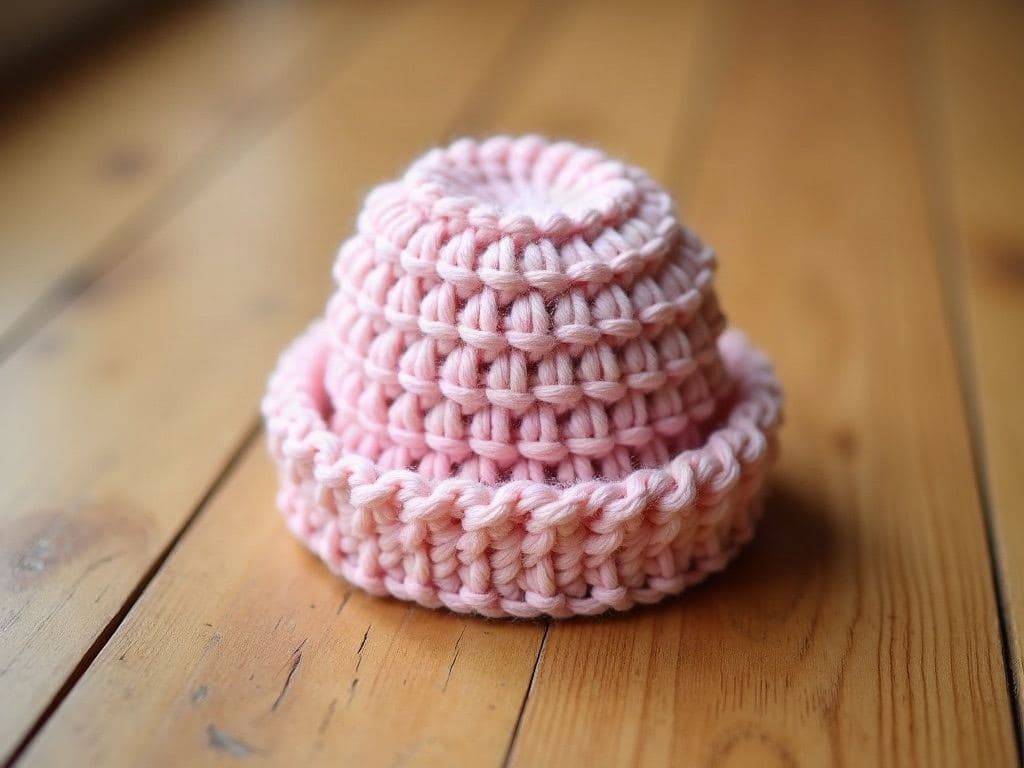
Simple half double crochet baby beanie in the round
- Skill level
- Beginner
- Yarn weight
- Medium (#4)
- Hook size
- 5 mm hook
- Yardage
- 130 yd
Free pattern
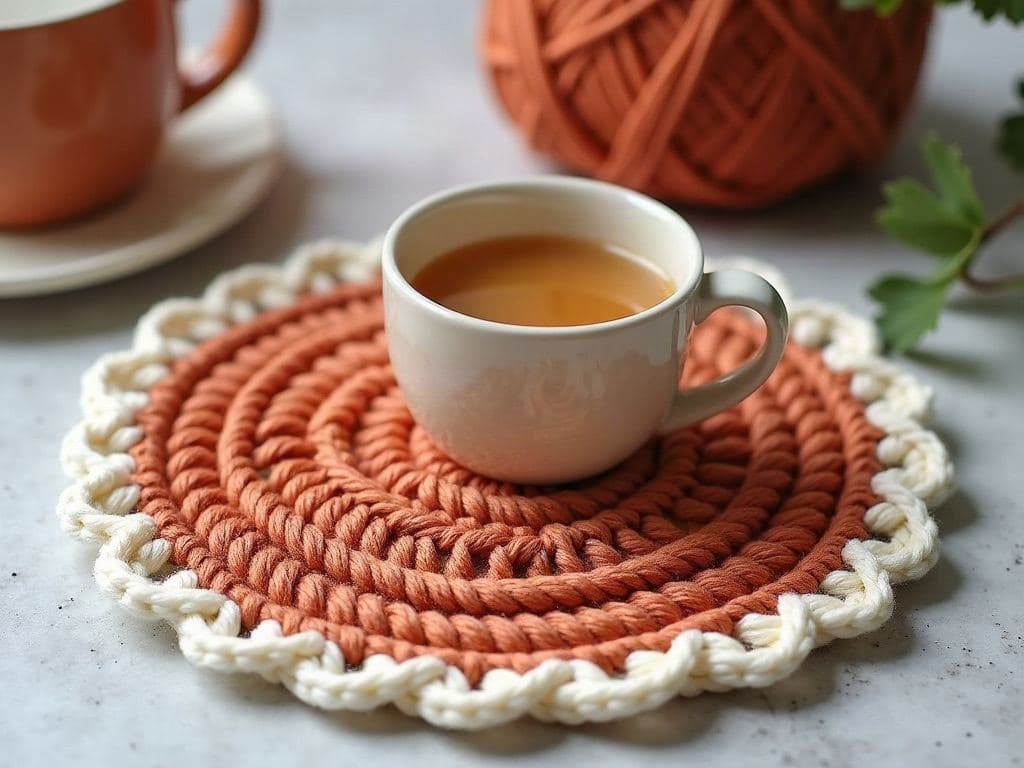
Quick round crochet coaster in cotton
- Skill level
- Beginner
- Yarn weight
- Medium (#4)
- Hook size
- 4.5 mm hook
- Yardage
- 18 yd
Free pattern
Frequently asked questions
Can you remove safety eyes after attaching the washer?
Not easily. Washers are designed to stay on; cutting them off can damage the fabric, so check placement before pressing the washer on.
Can you add safety eyes after stuffing?
It is much harder, because you need to reach inside to fit the washer. Add them before stuffing, or embroider the eyes instead.
Why do my safety eyes look far apart or uneven?
They were placed on different rounds or counted from different stitches. Use stitch markers, count the stitches between the eyes and check from the front before fixing.
What can I use instead of safety eyes?
Embroidered eyes, small crocheted circles sewn on securely, or felt eyes stitched in place all work and are better for young children.