
Free preview · full pattern in the Vintage Crochet Hats, Bags & Accessories
Auto Priscilla Hood in Star Stitch with Turnover (1912): vintage crochet pattern
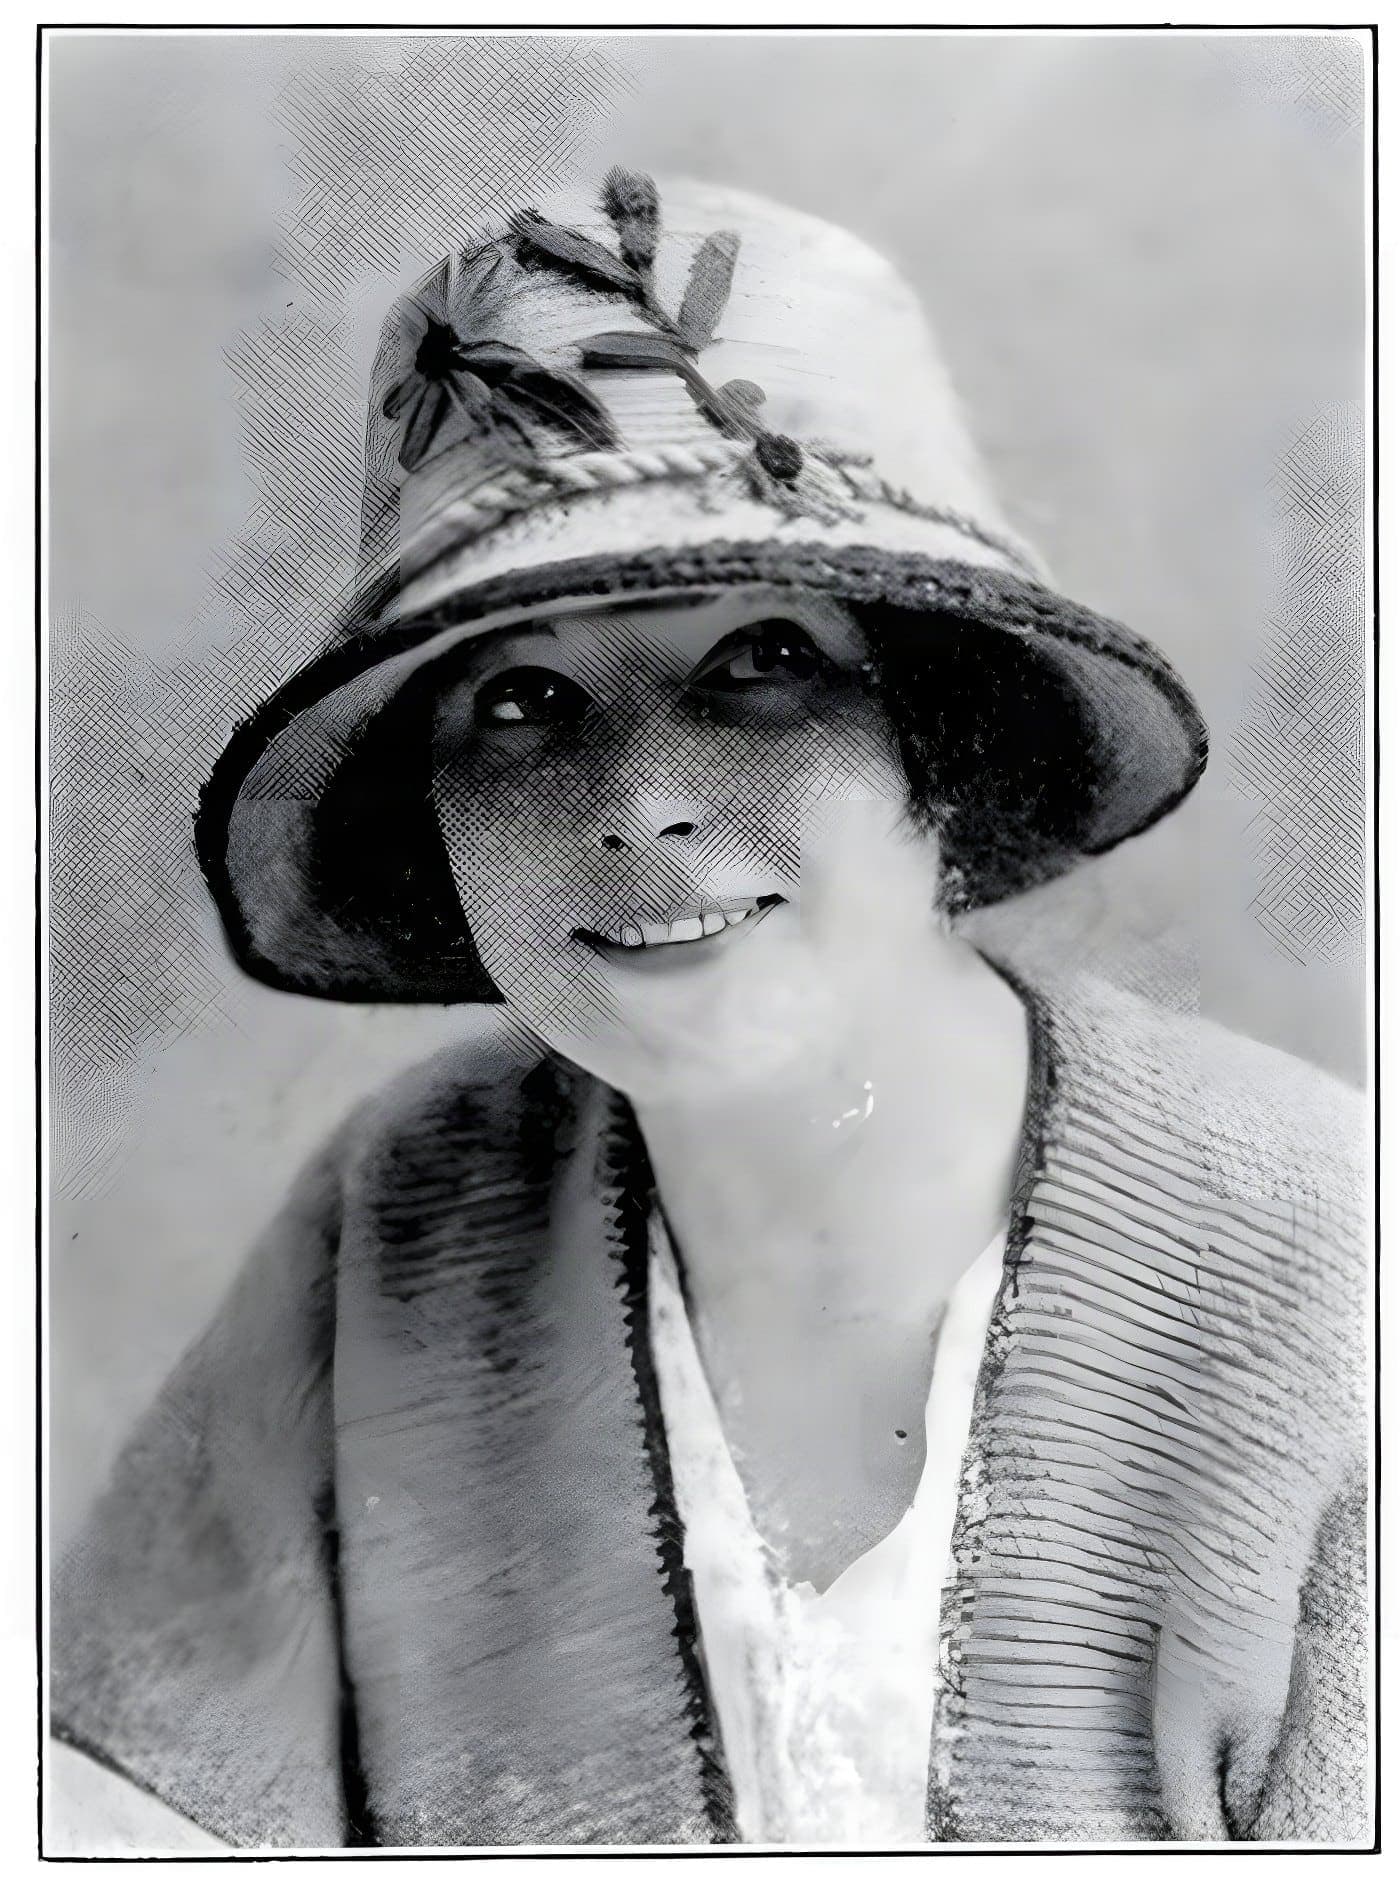
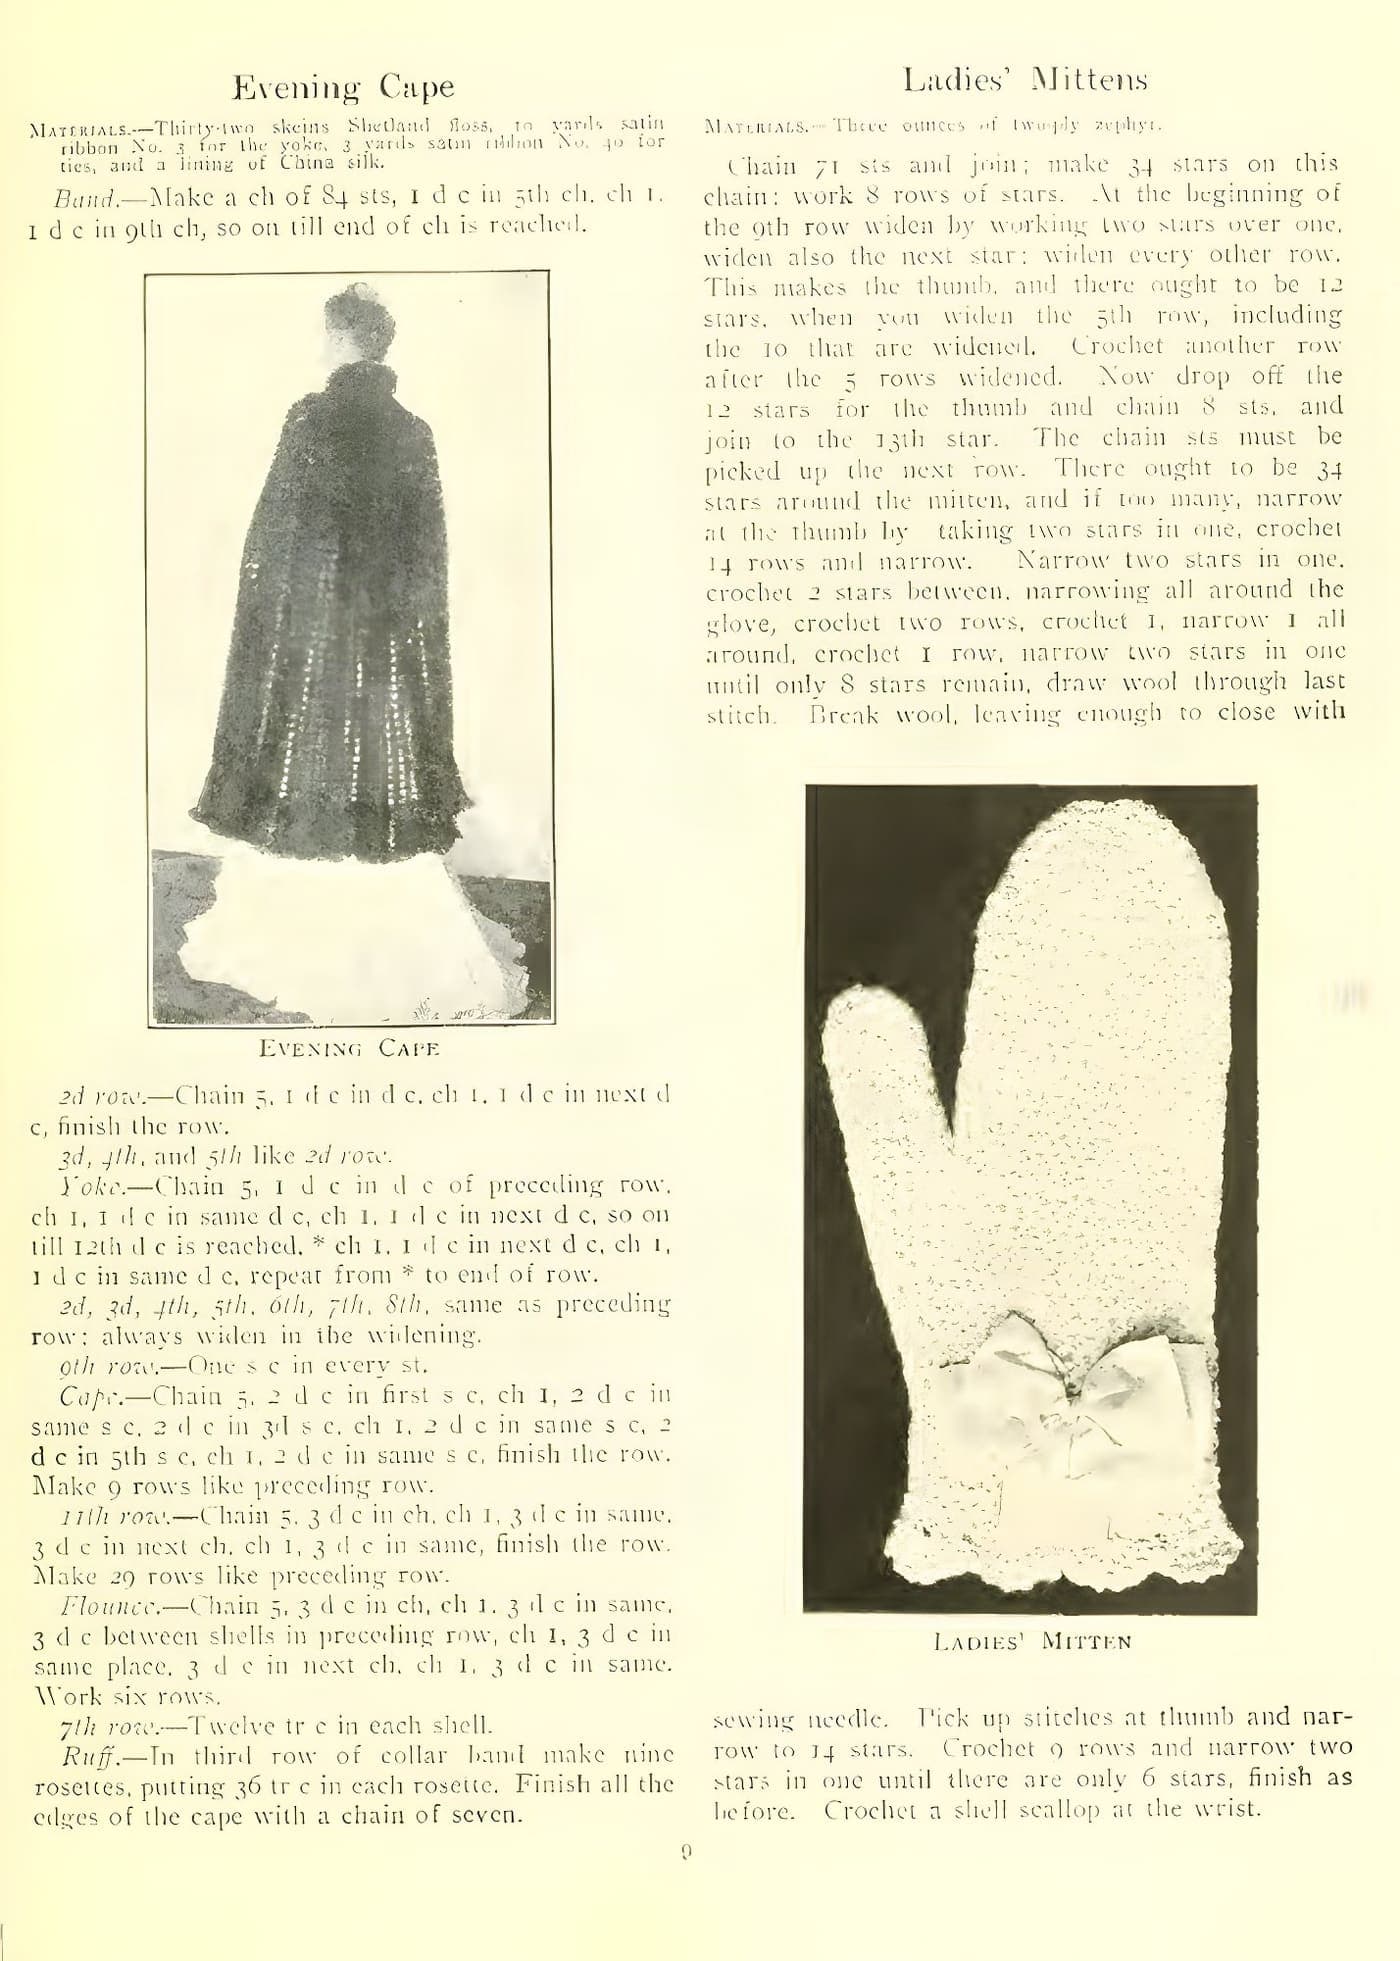
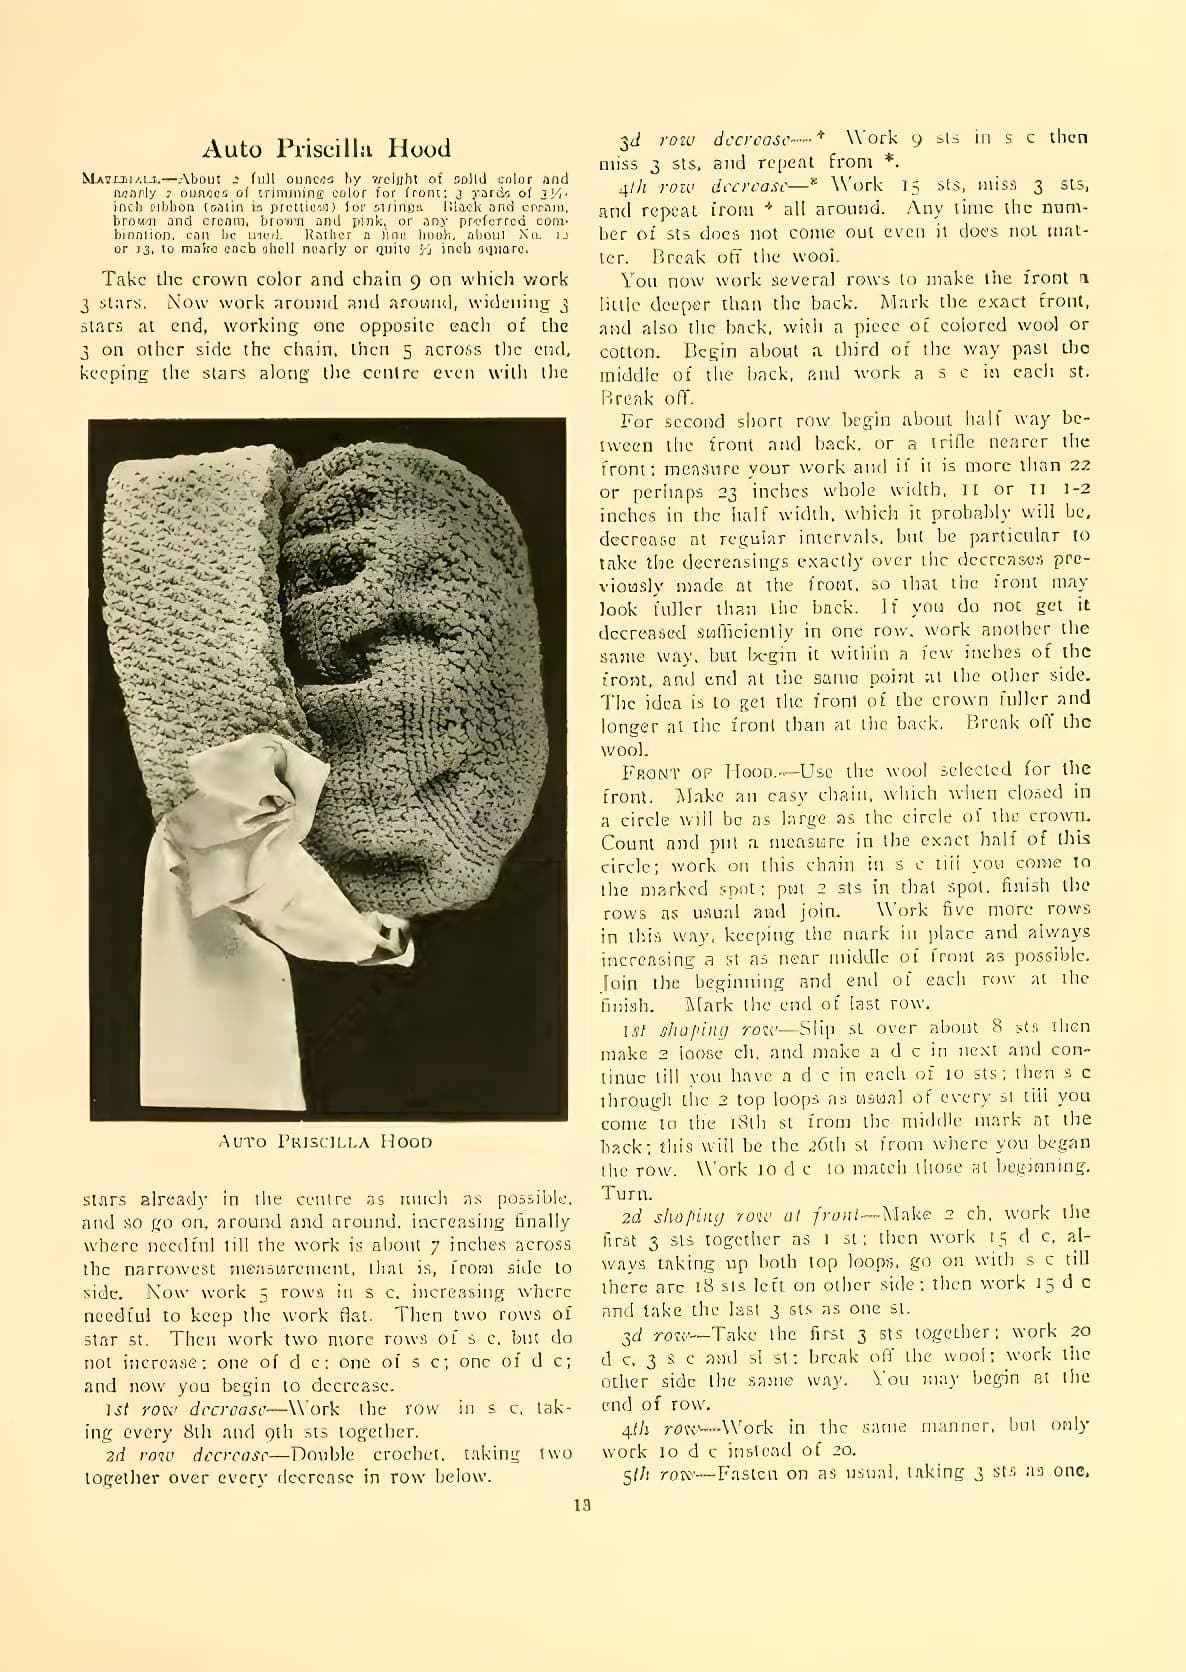
A close-fitting motoring hood in two colors: an oval star-stitch crown decreased in single and double crochet, a shaped single and double crochet front with a star-stitch turnover, joined and edged with small scallops and trimmed with a wide satin ribbon bow and strings.
By the crochetpatterns.io editorial team · Updated · Editorial policy · pattern testing in progress
| Detail | Value |
|---|---|
| Skill level | Advanced |
| Yarn weight | Fine (#2) |
| Yardage | the book gives about 2 oz (57 g) of crown color and nearly 2 oz (57 g) of trimming color; yardage is not stated. (as printed; yardage not given) |
| Hook | 3.5 mm |
| Gauge | Each star nearly or quite ½ in (13 mm) square, as printed. |
| Finished size | Adult. Printed measurements: the crown is worked until about 7 in (18 cm) across its narrowest measurement; after decreasing it should be about 22–23 in (56–58.5 cm) around, 11–11½ in (28–29 cm) in the half width. |
| Time | about 13 hours |
Materials
- Fine (CYC #2) wool yarn in 2 colors — approximate; the book gives about 2 oz (57 g) of the crown color and nearly 2 oz (57 g) of the trimming color for the front, but does not name the yarn
- 3 yd (2.7 m) satin ribbon 3½ in (9 cm) wide
- Colored thread or yarn for markers
- Tapestry needle
- Hook: Start with 3.5 mm (US E-4) — approximate; the printed hook is “about No. 12 or 13” in an unstated numbering system. Change size so each star is nearly or quite ½ in (13 mm) square, as printed
Yarn Kit & Substitution Options
This pattern calls for 350 yards of weight #2 yarn. Select a suggested yarn to see required skeins and estimated cost:
Lion Brand Coboo · 50% Cotton, 50% Bamboo
232 yds per skein · Silky breathable drape, lovely stitch shine
2 skeins required
approx. $$12.98 total
Abbreviations (US terms)
- chain
- slip stitch
- single crochet
- double crochet
- stitch
- stitches
- skip
- repeat
- row
- together
Notes before you start
- Source: "Auto Priscilla Hood", Priscilla Wool Crochet Book (ed. Lola Burks Hettich), The Priscilla Publishing Company, Boston, 1912. Public domain in the USA.
- As printed — materials: About 2 full ounces by weight of solid color and nearly 2 ounces of trimming color for front; 3 yards of 3½-inch ribbon (satin is prettiest) for strings; Black and cream, brown and cream, brown and pink, or any preferred combination, can be used; Rather a fine hook, about No. 12 or 13, to make each shell nearly or quite ½ inch square. Gauge: Each shell (star) nearly or quite ½ inch square..
- Modernisation note: Stitches converted by the book's own “Explanation of Stitches”, not by name: chain stitch (ch st, “make a series of loops, drawing each loop through the preceding one”) = ch; slip stitch (sl st, “insert the hook into the stitch, draw the wool through that stitch and through the wool on hook at the same time”) = sl st; single crochet (s c, “insert the hook, draw wool through, pass wool around hook (wool over), and draw it through both loops on the hook”) = sc; double crochet (d c, wool around the hook, insert, draw through, then through 2 loops twice) = dc; half double crochet (h d c, wool around the hook, insert, draw through, then “through all 3 loops at once”) = hdc; treble crochet (t c or tr c, wool around the hook twice, insert, draw through, then through 2 loops three times) = tr. For these stitches the 1912 American names already match modern US usage, so no stitch changes height. The book's long crochet (l c: wool around the hook, insert, draw through, then through 1 loop, then through 2 loops twice) is the modern extended double crochet; where used it is written “long crochet” with that definition.
- Modernisation note: The book's abbreviations are written in modern US form: ch st = ch, s c = sc, d c = dc, h d c = hdc, t c / tr c = tr, st(s) = st(s), “wool over” / “thread over” / “pass the wool around the hook” = yo; “miss” = sk; loop = lp; “repeat” = rep; “beginning” = beg. “Widen” is written as increase and “narrow” as decrease, as defined in each design. Ordinal row names (“1st row”, “2d row”) are written Row 1, Row 2; where the book calls a circuit of a round piece a “row” the book's word is kept. “Plain” (a row or round with no increases or decreases) is kept as printed.
- Modernisation note: Star stitch is the book's own stitch, defined on its “Star Stitch” page (quoted as the first steps of each design that uses it): loops are drawn up in the chain or in the long and short strands of the star below, all taken off together with 1 yo and closed with 1 ch. It has no single modern abbreviation, so it is written “star”. The book's widening terms are kept and explained: “wi 1” (one extra star in the same stitch), “wi 2” (two extra stars in that stitch) and “wi by 2 over 1” (two stars over one star of the row below).
- Modernisation note: Long printed paragraphs are split into one row, round or step per line; stitch order and counts unchanged. Section headings added for navigation.
- Modernisation note: Hooks are printed as bone hooks described only as fine, medium-sized or coarse, or by an unstated numbering system, with no diameters, so no exact metric size can be read from the book. The suggested modern hook is an approximate starting point chosen for the yarn weight and tied to any printed measurement.
- Modernisation note: The yarn is not named (“solid color” and “trimming color” by weight); fine (CYC #2) is an approximation chosen to give a star about ½ in (13 mm) square.
- Modernisation note: The book calls the stars “shells” in the materials list; they are the star stitch of the directions.
- Modernisation note: “Put a measure” (a marker) is written “put a marker”. “Miss” is written sk; “take 3 together” is kept in words.
- Modernisation note: Decrease row, short row and shaping row labels are the book's (“1st row decrease”, “1st shaping row”), renumbered in modern form.
- Modernisation note: Check: the crown's star-stitch increases (“widening 3 stars at end … then 5 across the end”) are described only in outline; the crown is an oval worked around both sides of the starting chain. Use the book's star-stitch widening and follow the photograph.
- Modernisation note: Check: “Now work 5 rows in s c” and the later sc/dc rows are worked around the crown; the book calls these rows rather than rounds.
- Modernisation note: Check: Front shaping rows 3–7 are worked on each side in turn (“work the other side the same way”) where stated; rows 5 and 7 are worked right across. Kept as printed.
- Modernisation note: Check: the 3½ in (9 cm) ribbon width is read from “3½-inch ribbon”.
- Modernisation note: Metric conversions added.
Row progress: 0 of 19 done (0%)
Crown (crown color)
0 of 19 done- Star stitch (the book's definition): Ch the required length. Without a yo, sk the ch next to the hook and draw up a lp in the 2nd ch, keeping both lps on the hook; draw up a lp in the 3rd, 4th and 5th ch the same way, making 5 lps on the hook. These lps must be quite loose and the same length. Yo and draw through all 5 lps together, and finish the star with ch 1 to hold it together.Mark row complete
- Next star: Insert the hook in the 1st st of the star going down the side (a short st, called the eye of the star) and draw up a lp; draw up a lp through the back thread of the next st of the star (a long st); then draw up a lp in each of the next 2 ch, making 5 lps as before; yo and draw through all at once and ch 1 to finish the star.Mark row complete
- Star stitch, following rows: Join the yarn in the ch at the beg of the 1st star. Ch 3, sk the 1st ch and draw up a lp in the 2nd and 3rd ch. There is a long and a short st in the top of every star of the row below: draw up a lp in the back thread of the long st and in both threads of the short st, making 5 lps on the hook. Proceed as before, working a star over every star of the preceding row.Mark row complete
- Star stitch, widening (first way, “wi 1”): Draw up only 4 lps — the short and long st down the side of the preceding star, and the 4th in the short st into which the last lp of the preceding star was put. (“wi 2” = 2 extra stars put in this same st.)Mark row complete
- Star stitch, widening (second way, “wi by 2 over 1”): Draw up a lp in the short and long st down the side of the preceding star and in the long st of the star underneath (4 lps); take off as before, making 1 star. Then draw up a lp in the short and long st down the side and in the short st of the star underneath. This makes 2 stars over 1 of the preceding row.Mark row complete
- Ch 9, on which work 3 stars.Mark row complete
- Now work around and around, widening 3 stars at the end, working 1 star opposite each of the 3 on the other side of the chain, then 5 across the end, keeping the stars along the center even with the stars already in the center as much as possible.Mark row complete
- Go on so, around and around, increasing finally where needful, till the work is about 7 in (18 cm) across the narrowest measurement, that is, from side to side.Mark row complete
- Now work 5 rows in sc, increasing where needful to keep the work flat.Mark row complete
- Then work 2 rows of star st.Mark row complete
- Then work 2 more rows of sc, but do not increase; 1 row of dc; 1 row of sc; 1 row of dc; and now begin to decrease.Mark row complete
- Decrease row 1: Work the row in sc, taking every 8th and 9th sts tog.Mark row complete
- Decrease row 2: Dc, taking 2 tog over every decrease in the row below.Mark row complete
- Decrease row 3: *Work 9 sts in sc, then sk 3 sts; rep from *.Mark row complete
- Decrease row 4: *Work 15 sts, sk 3 sts; rep from * all around. Any time the number of sts does not come out even, it does not matter. Break off the yarn.Mark row complete
- Short rows: You now work several rows to make the front a little deeper than the back. Mark the exact front, and also the back, with a piece of colored yarn or cotton.Mark row complete
- Short row 1: Begin about a third of the way past the middle of the back, and work a sc in each st. Break off.Mark row complete
- Short row 2: Begin about half way between the front and back, or a trifle nearer the front. Measure your work, and if it is more than 22 or perhaps 23 in (56–58.5 cm) whole width, 11 or 11½ in (28–29 cm) in the half width, which it probably will be, decrease at regular intervals, but be particular to take the decreasings exactly over the decreases previously made at the front, so that the front may look fuller than the back.Mark row complete
- If you do not get it decreased sufficiently in one row, work another the same way, but begin it within a few inches of the front, and end at the same point at the other side. The idea is to get the crown fuller and longer at the front than at the back. Break off the yarn.Mark row complete
Working on:
Star stitch (the book's definition): Ch the required length. Without a yo, sk the ch next to the hook and draw up a lp in the 2nd ch, keeping both lps on the hook; draw up a lp in the 3rd, 4th and 5th ch the same way, making 5 lps on the hook. These lps must be quite loose and the same length. Yo and draw through all 5 lps together, and finish the star with ch 1 to hold it together.
Continue this pattern
The rest of the Auto Priscilla Hood in Star Stitch with Turnover (1912) pattern is in the Vintage Crochet Hats, Bags & Accessories
Still to come in the full pattern:
- Front of Hood (trimming color)
- Front Turnover
- Making Up
- Finishing
Included with 202 patterns for $12 — $0.06 per pattern.
Errata
No corrections have been published for this pattern. Found a mistake? Tell us and we will log the fix here with a date.
Your notes on this pattern
Keep track of the yarn, hook and changes you used. Saved in this browser only — nobody else can see it.
Frequently asked questions
Where is the Auto Priscilla Hood pattern from?
It was published as "Auto Priscilla Hood" in Priscilla Wool Crochet Book (ed. Lola Burks Hettich) by The Priscilla Publishing Company, Boston in 1912. The publication is in the public domain in the United States; this version is transcribed and modernised by crochetpatterns.io.
What yarn or thread do I need for the Auto Priscilla Hood?
fine (#2) yarn. Not printed — the book gives about 2 oz (57 g) of crown color and nearly 2 oz (57 g) of trimming color; yardage is not stated.
What hook should I use?
Start with 3.5 mm (US E-4) — approximate; the printed hook is “about No. 12 or 13” in an unstated numbering system. Change size so each star is nearly or quite ½ in (13 mm) square, as printed Gauge: Each star nearly or quite ½ in (13 mm) square, as printed.