
Free crochet pattern
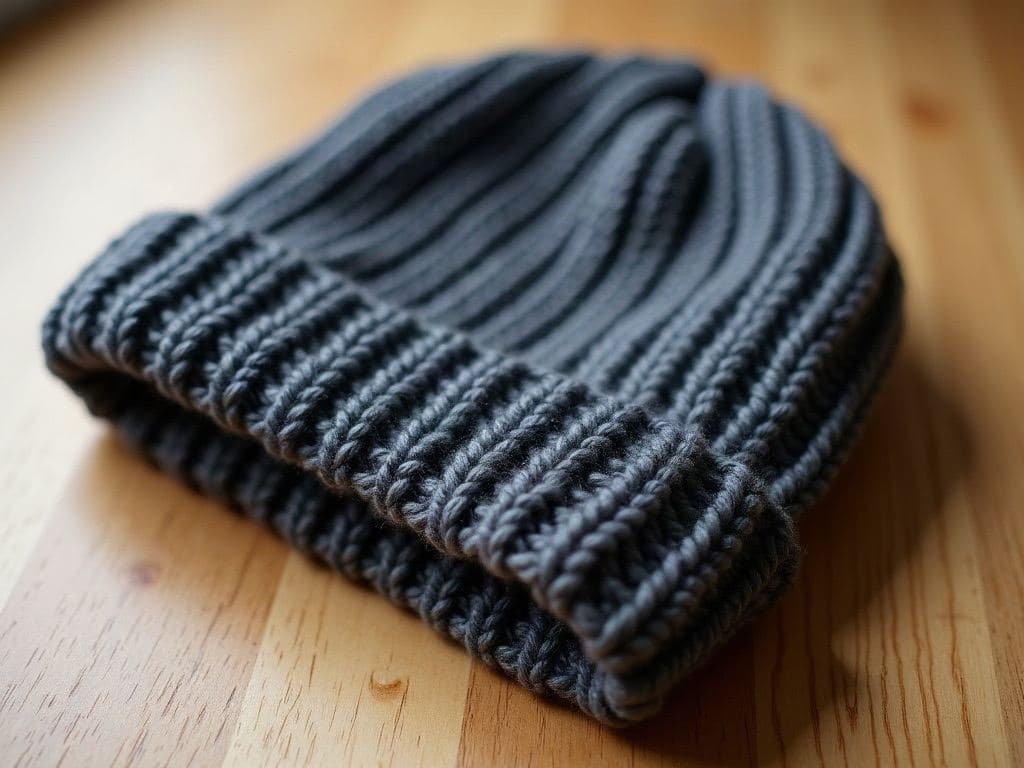
Chunky ribbed crochet beanie worked flat
This chunky beanie is worked flat in half double crochet through the back loops, which creates stretchy vertical ribs, then seamed and cinched at the crown. Super bulky yarn and a 9 mm hook make it a two-hour project that fits most adult heads from 20 to 22 inches.
By the crochetpatterns.io editorial team · Updated · Editorial policy · pattern testing in progress
| Detail | Value |
|---|---|
| Skill level | Easy |
| Yarn weight | Super bulky (#6) |
| Yardage | 120–150 yd (110–137 m) |
| Hook | 9 mm |
| Gauge | 9 hdc and 7 rows = 4 in (10 cm) in hdc through back loops. |
| Finished size | 18.25 in (46 cm) circumference unstretched, 9.25 in (23.5 cm) tall; fits 20–22 in heads |
| Time | about 2 hours |
Materials
- Super bulky weight (#6) wool-blend or acrylic yarn, about 140 yd / 128 m
- 9 mm (US M/N-13) crochet hook
- Tapestry needle
- Optional faux fur pom-pom
Yarn Kit & Substitution Options
This pattern calls for 150 yards of weight #6 yarn. Select a suggested yarn to see required skeins and estimated cost:
Caron Simply Soft · 100% Acrylic
315 yds per skein · High-yield yardage, silky no-scratch texture
1 skeins required
approx. $$5.49 total
Abbreviations (US terms)
- chain
- half double crochet
- back loop only
- slip stitch
- stitch
- stitches
- row
Notes before you start
- Turning ch-1 does not count as a stitch.
- Rows run up the height of the hat, so the ribs are vertical when worn.
- For a 22–23.5 in head, work 36 rows instead of 32.
Row progress: 0 of 6 done (0%)
Hat panel
0 of 4 done- Ch 23.Mark row complete
- Row 1: Hdc in 3rd ch from hook and in each ch across, turn. (21 hdc)Mark row complete
- Row 2: Ch 1, hdc blo in each st across, turn. (21 hdc)Mark row complete
- Rows 3–32: Rep Row 2. Do not fasten off.Mark row complete
Seam and crown
0 of 2 done- Fold the panel so Row 1 meets Row 32. Sl st through both layers along the row edge to form a tube. Fasten off, leaving a 12 in (30 cm) tail.Mark row complete
- Thread the tail onto a tapestry needle and weave it in and out through the row ends along one open edge. Pull tight to close the crown and knot securely.Mark row complete
Working on:
Ch 23.
Finishing
- Weave in ends on the inside.
- Fold the lower edge up 2 in (5 cm) for a brim, or leave it unfolded for a slouchier fit.
- Attach a pom-pom if you like.
Errata
No corrections have been published for this pattern. Found a mistake? Tell us and we will log the fix here with a date.
Your notes on this pattern
Keep track of the yarn, hook and changes you used. Saved in this browser only — nobody else can see it.
Frequently asked questions
Can I make this beanie in bulky (#5) yarn?
Yes, with a 6.5–8 mm hook, but you will need more stitches and rows. Swatch first and multiply your stitches per inch by the hat height and your head circumference minus 2 in.
Why does my hat have a hole at the top?
The tail was not pulled tight enough. Weave through every row end, pull firmly, then take a few stitches across the centre before knotting.