
Free crochet pattern
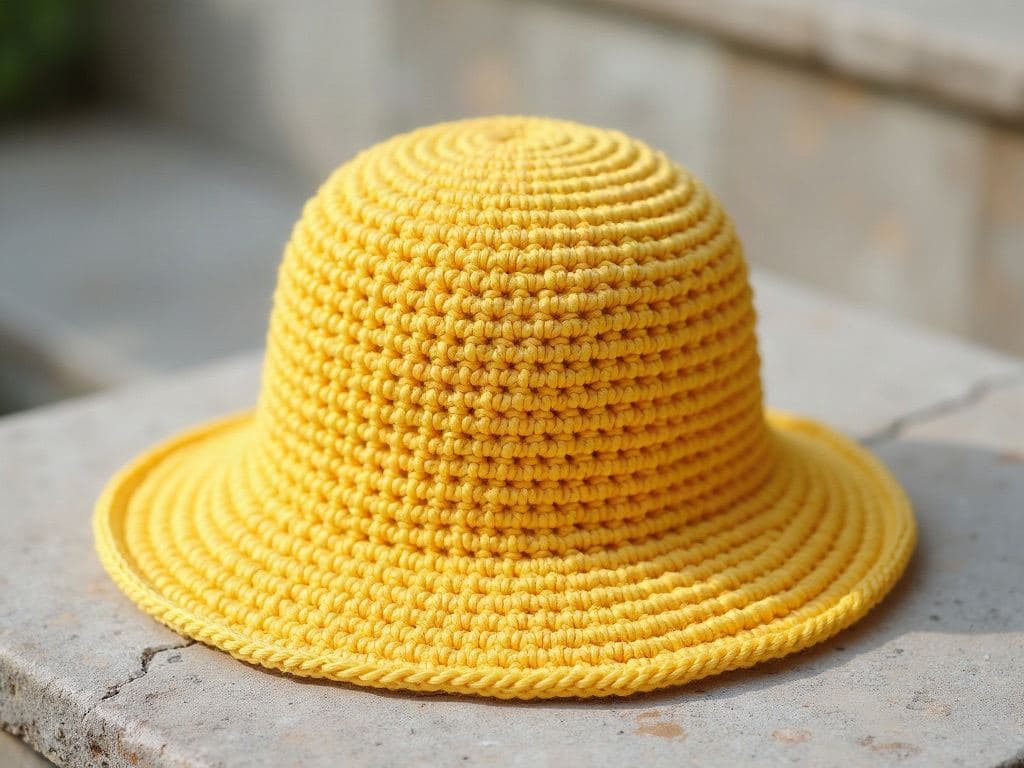
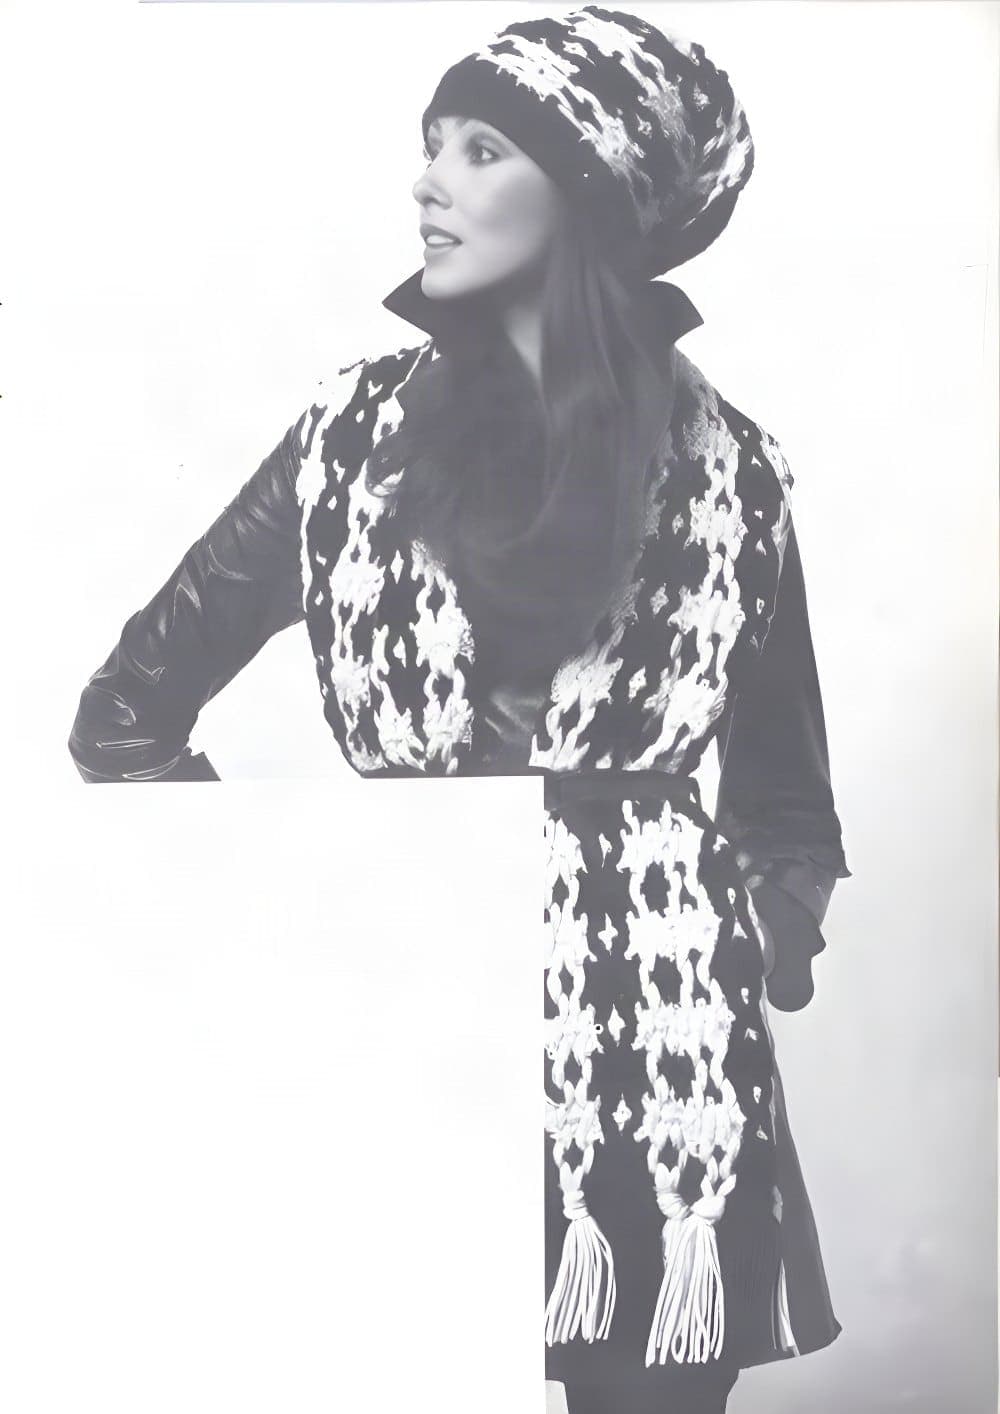
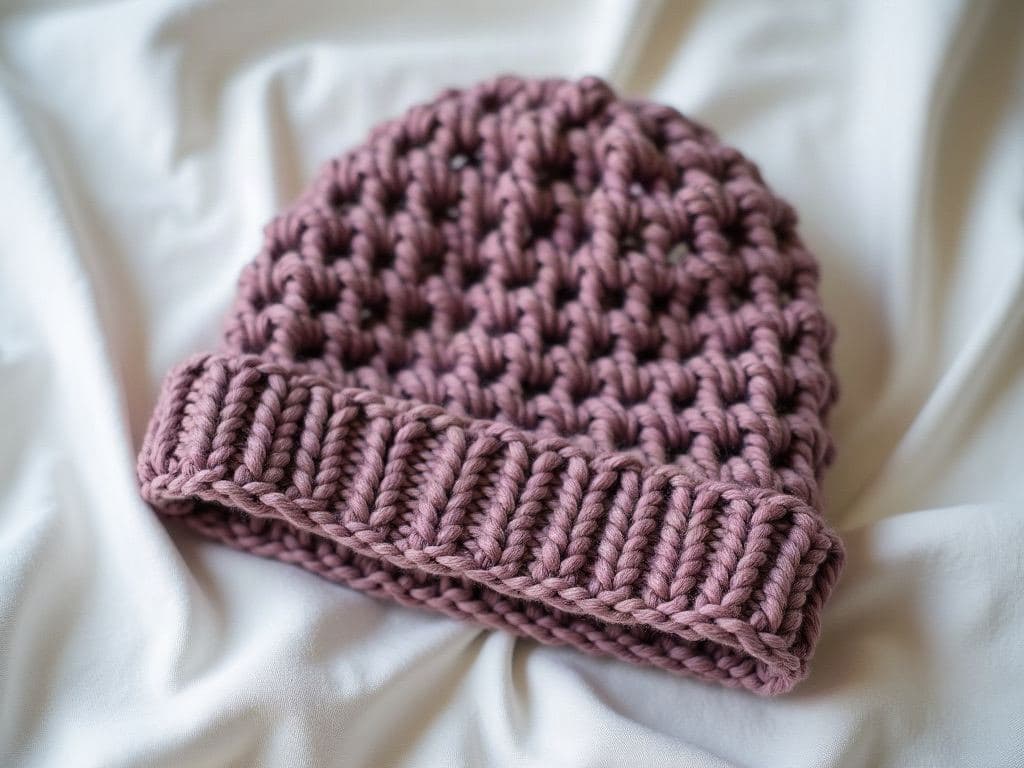
Relaxed slouchy crochet beanie with ribbed brim
This slouchy beanie is worked top-down in joined rounds of double crochet, increasing twelve stitches per round to a roomy 72-stitch crown, then worked straight for the slouch. A decrease round and front and back post double crochet ribbing pull in the brim. It uses about 240 yards of worsted yarn.
By the crochetpatterns.io editorial team · Updated · Editorial policy · pattern testing in progress
| Detail | Value |
|---|---|
| Skill level | Easy |
| Yarn weight | Medium (#4) |
| Yardage | 220–260 yd (201–238 m) |
| Hook | 5.5 mm |
| Gauge | 13 dc and 7 rnds = 4 in (10 cm). |
| Finished size | 22 in (56 cm) body circumference, 18.5 in (47 cm) brim, 12.5 in (32 cm) tall; fits 20–23 in heads |
| Time | about 2.5 hours |
Materials
- Worsted weight (#4) wool-blend or acrylic yarn, about 240 yd / 220 m
- 5.5 mm (US I-9) crochet hook
- Tapestry needle
Yarn Kit & Substitution Options
This pattern calls for 260 yards of weight #4 yarn. Select a suggested yarn to see required skeins and estimated cost:
Caron Simply Soft · 100% Acrylic
315 yds per skein · High-yield yardage, silky no-scratch texture
1 skeins required
approx. $$5.49 total
Abbreviations (US terms)
- magic ring
- chain
- double crochet
- double crochet two together
- front post double crochet
- back post double crochet
- slip stitch
- stitch
- stitches
- repeat
- round
Notes before you start
- Beginning ch-2 does not count as a stitch; work the first dc into the same stitch as the join.
- Join each round with a sl st in the first dc.
- For less slouch, work Rnds 7–14 instead of 7–18.
Row progress: 0 of 9 done (0%)
Crown
0 of 6 done- Rnd 1: Make a magic ring, ch 2, 12 dc in ring, sl st in first dc. (12)Mark row complete
- Rnd 2: Ch 2, 2 dc in each st around, sl st in first dc. (24)Mark row complete
- Rnd 3: Ch 2, *dc in next st, 2 dc in next st; rep from * around, sl st in first dc. (36)Mark row complete
- Rnd 4: Ch 2, *dc in next 2 sts, 2 dc in next st; rep from * around, sl st in first dc. (48)Mark row complete
- Rnd 5: Ch 2, *dc in next 3 sts, 2 dc in next st; rep from * around, sl st in first dc. (60)Mark row complete
- Rnd 6: Ch 2, *dc in next 4 sts, 2 dc in next st; rep from * around, sl st in first dc. (72)Mark row complete
Body
0 of 1 done- Rnds 7–18: Ch 2, dc in each st around, sl st in first dc. (72)Mark row complete
Brim
0 of 2 done- Rnd 19: Ch 2, *dc in next 4 sts, dc2tog; rep from * around, sl st in first dc. (60)Mark row complete
- Rnds 20–23: Ch 2, *fpdc around next st, bpdc around next st; rep from * around, sl st in first st. (60)Mark row complete
Working on:
Rnd 1: Make a magic ring, ch 2, 12 dc in ring, sl st in first dc. (12)
Finishing
- Fasten off and weave in ends.
- Steam lightly to relax the slouch.
Errata
No corrections have been published for this pattern. Found a mistake? Tell us and we will log the fix here with a date.
Your notes on this pattern
Keep track of the yarn, hook and changes you used. Saved in this browser only — nobody else can see it.
Frequently asked questions
How do I make the brim tighter?
Work Round 19 as *dc in next 3 sts, dc2tog* for 58 stitches, then work the ribbing over an even count by working one extra dc2tog.
Why does my ribbing lean?
Post-stitch ribbing spirals slightly in joined rounds. Keep the join in the same place each round and it will stay straight.