
Free preview · full pattern in the Vintage Crochet Edgings & Trims
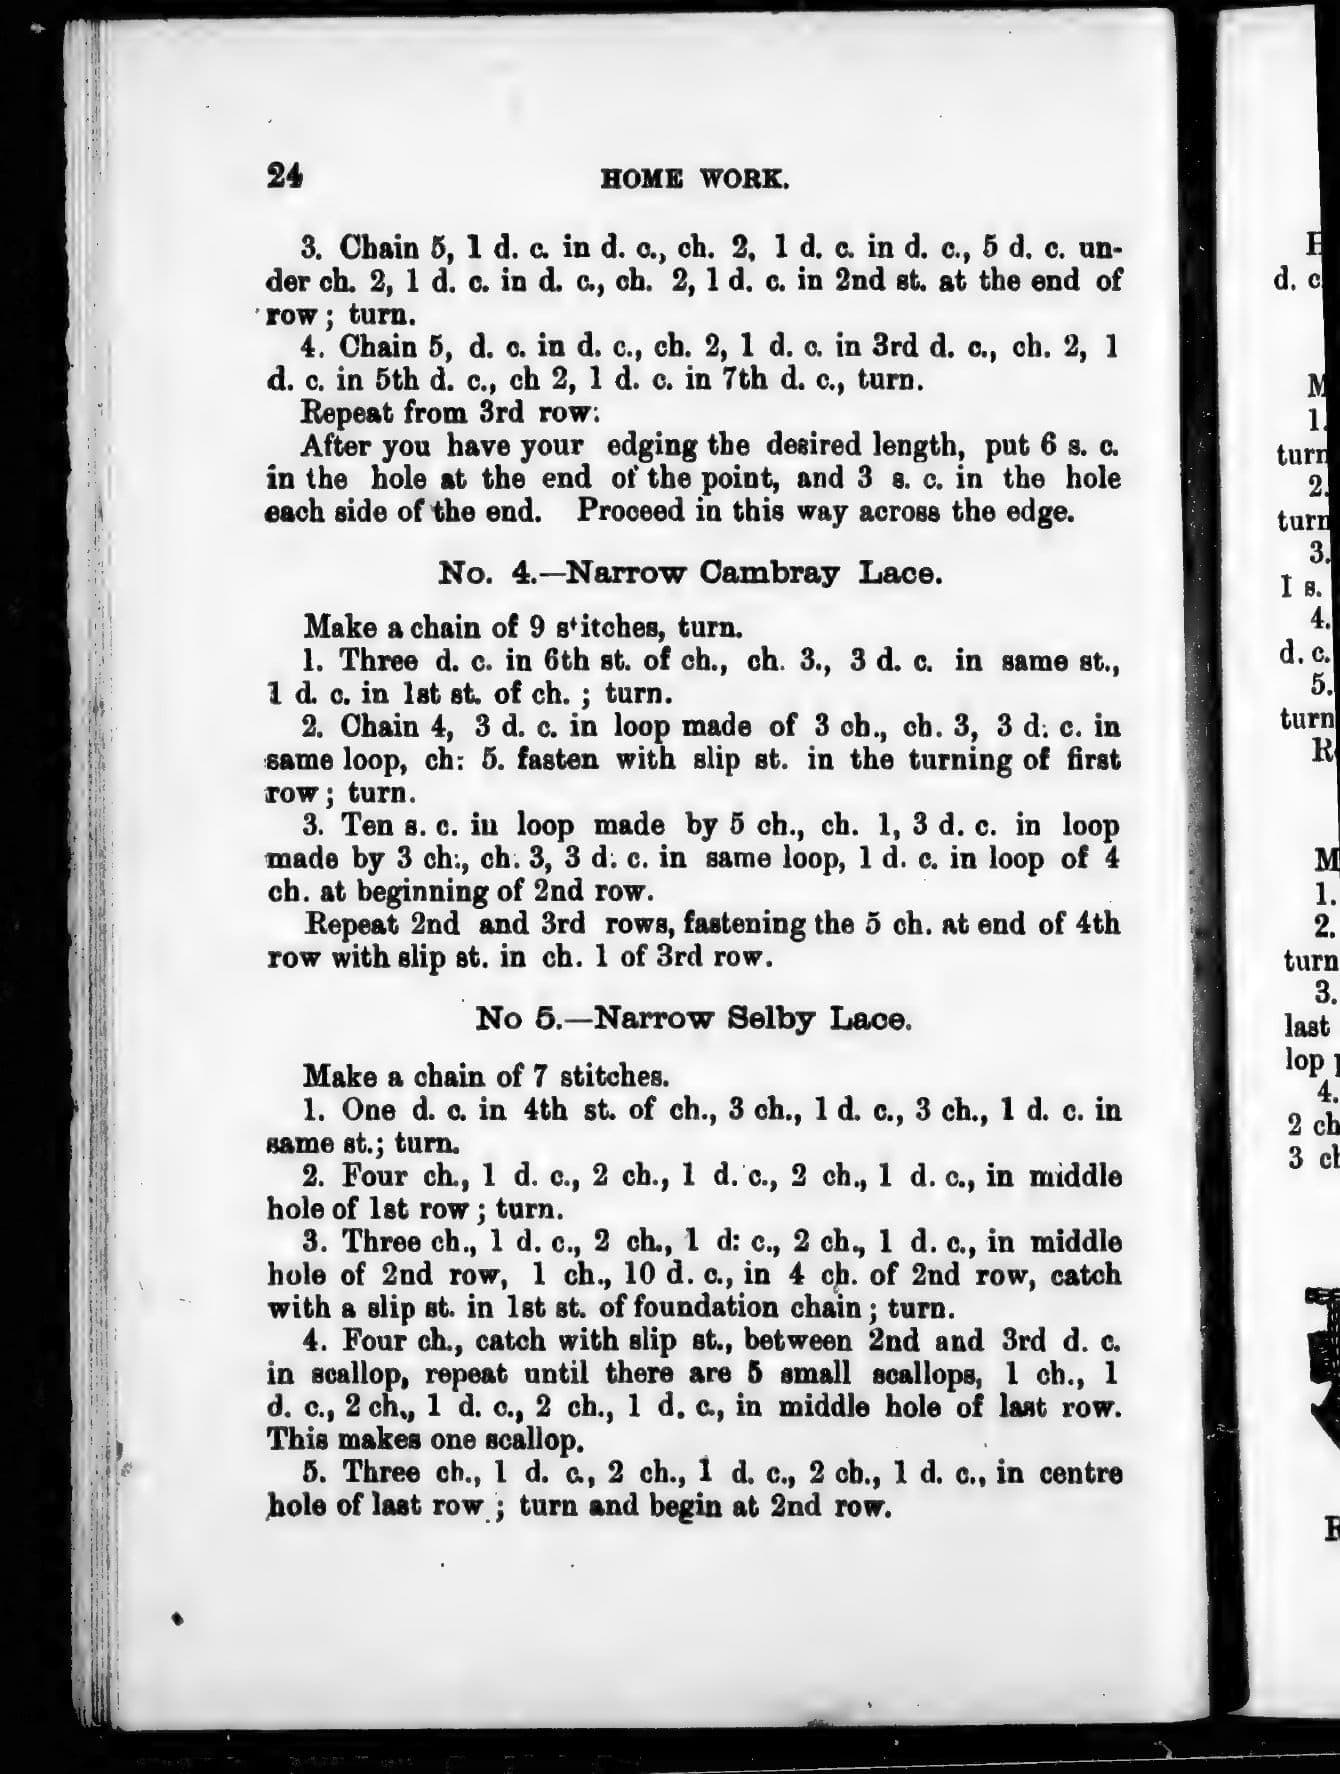
Red Cross Corner Linen Edge (1919): vintage crochet pattern
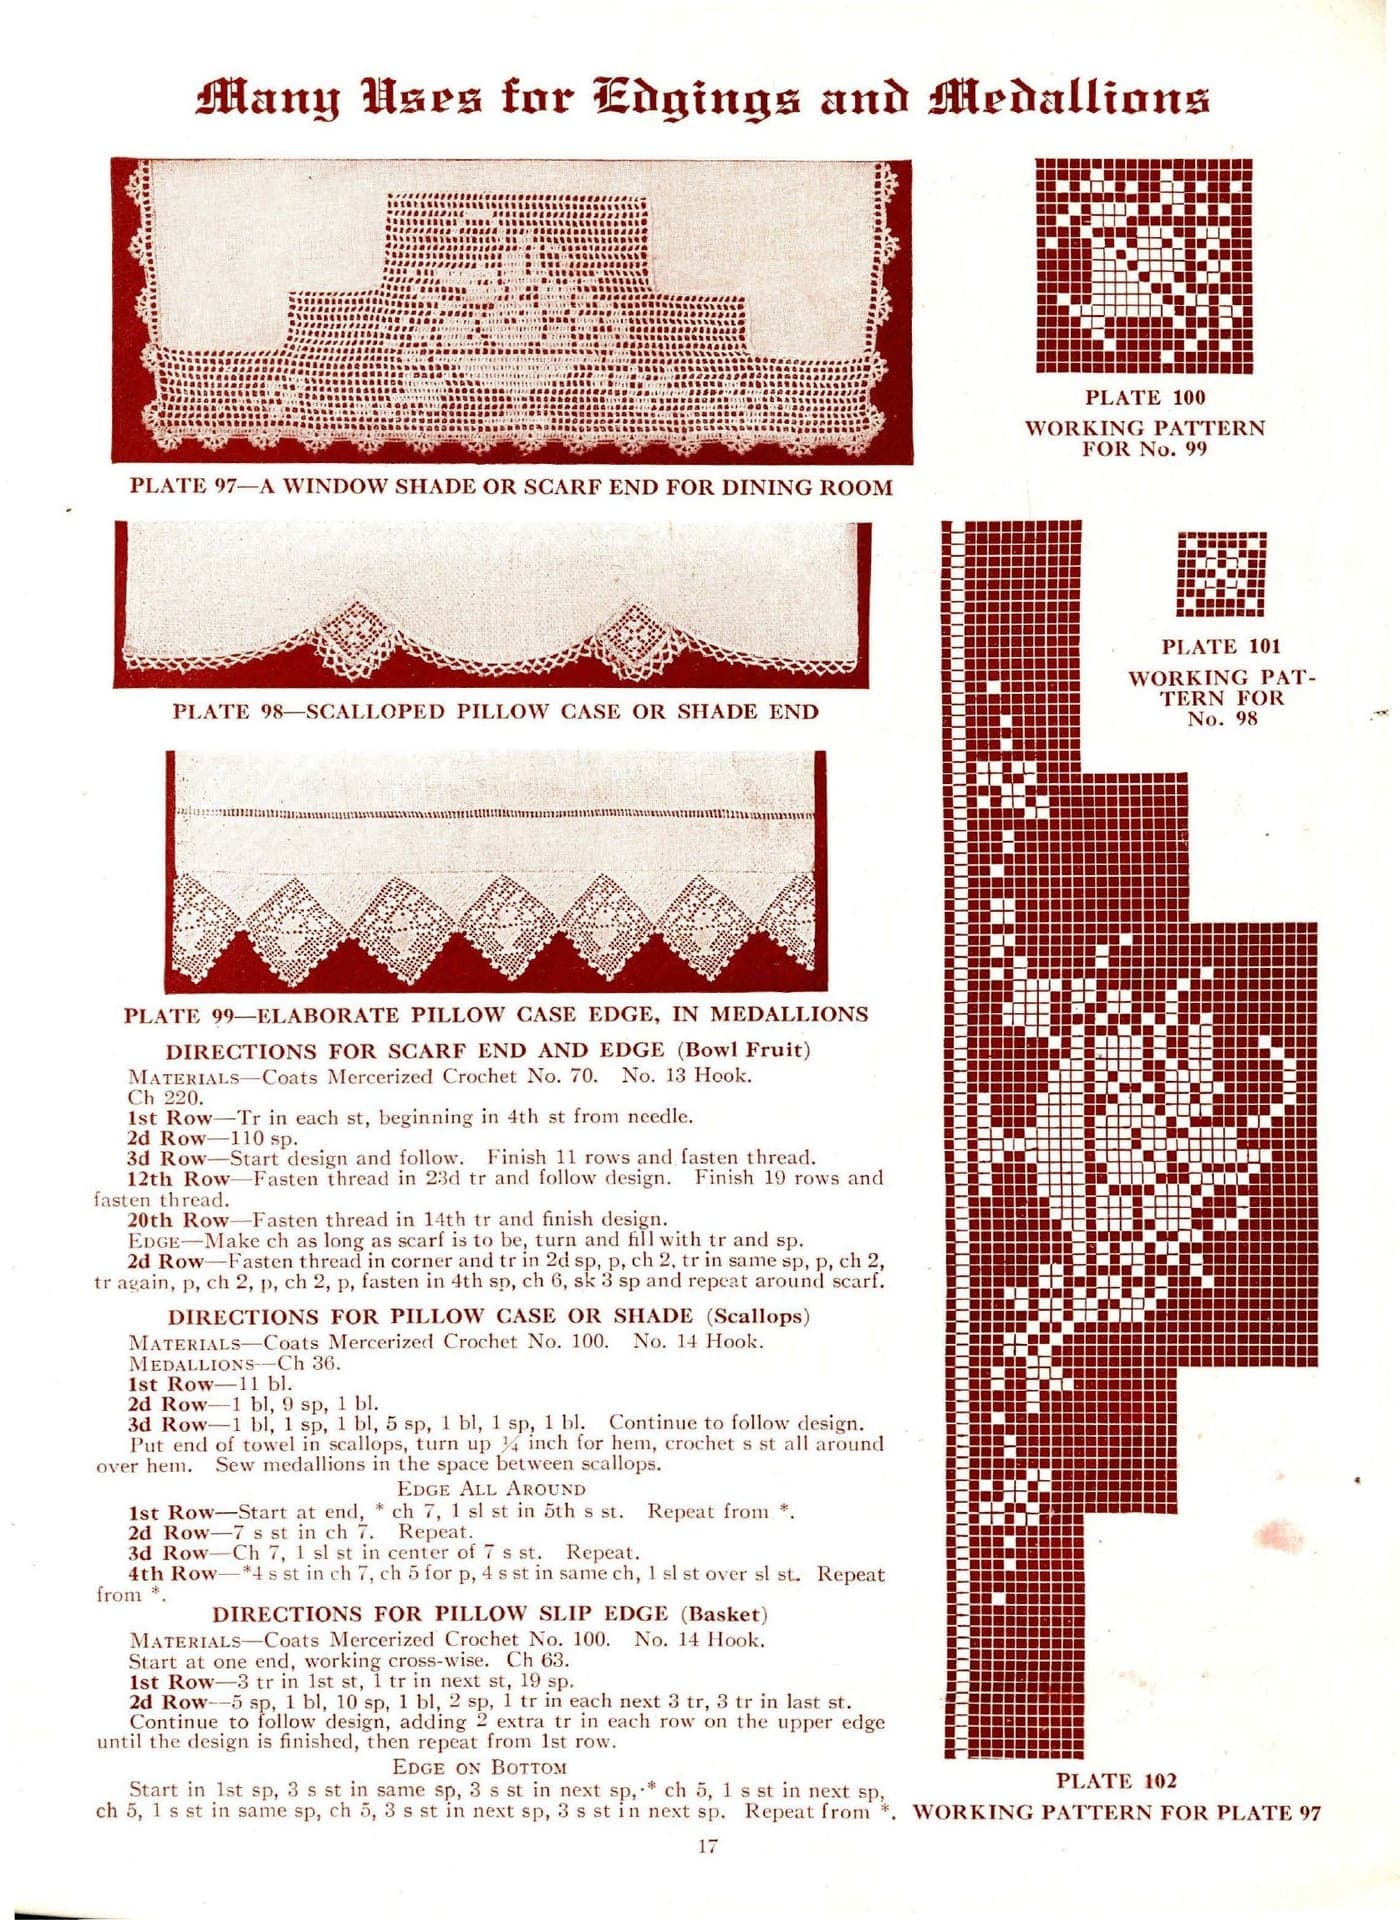
The plainest of the handkerchief edgings in the book: two rows of filet spaces worked all around the linen, then a row of single crochet four to a space with a picot at every fourth space. Originally published as "Red Cross Corner — edging" in J. & P. Coats Crochet Book No. 3: Yokes and Gifts (designed by.
By the crochetpatterns.io editorial team · Updated · Editorial policy · pattern testing in progress
| Detail | Value |
|---|---|
| Skill level | Beginner |
| Yarn weight | Lace (#0) |
| Yardage | the book gives only the thread number. (as printed; yardage not given) |
| Hook | 0.75 mm |
| Gauge | No gauge printed. |
| Finished size | Not printed. Worked all around the linen. |
| Time | about 2 hours |
Materials
- Size 100 mercerized cotton crochet thread — approximate; the original was Coats Mercerized Crochet, No. 100 (amount not printed)
- Steel crochet hook
- Tapestry needle for the ends
- Linen handkerchief for the foundation
- Sewing needle and thread for the hem
- Hook: Start with a 0.75 mm (US steel 14) hook — approximate. Change size until the edging lies flat.
Yarn Kit & Substitution Options
This pattern calls for 350 yards of weight #0 yarn. Select a suggested yarn to see required skeins and estimated cost:
Caron Simply Soft · 100% Acrylic
315 yds per skein · High-yield yardage, silky no-scratch texture
2 skeins required
approx. $$10.98 total
Abbreviations (US terms)
- chain
- single crochet
- double crochet
- space
- chain space
- stitch
- repeat
- row
- round
Notes before you start
- Source: "Red Cross Corner — edging" (Plate 59), J. & P. Coats Crochet Book No. 3: Yokes and Gifts (designed by Anne Orr), J. & P. Coats (R. I.) Incorporated, Pawtucket, R.I., 1919. Public domain in the USA.
- As printed — materials: Coats Mercerized Crochet, No. 100. Gauge: Not given.
- Modernisation note: Stitches are converted by this book's own key (“Foundation Stitches and How to Make Them”, book pages 4–5), not by name. The key defines: chain stitch (ch); slip stitch (sl st), drawn through the stitch and the loop on the needle in one motion; single stitch (s st), insert, draw through the stitch making two loops on the needle, then draw through those two — the modern US single crochet; treble crochet (tr), thread round the needle once, insert, draw through making three loops, then off two and off two, with the note “Three chains equal one treble” — the modern US double crochet; double treble crochet (d tr), thread round twice, worked off two at a time for three repeats — the modern US treble; triple treble crochet (tr tr), thread round three times, four repeats — the modern US double treble. So this 1919 book's treble names stand one step taller than modern US names, and every book tr is written dc here, every d tr is written tr, every tr tr is written dtr, and every s st is written sc. This is American period naming, not British: the key's working definitions settle it, since the book's “single stitch” draws through both loops in one step (a sc, not a British dc) and its “treble” takes only one thread-over.
- Modernisation note: The book's wording is written in modern US form: “needle” = hook; “thread around the needle” = yo; “skip” = sk; “Repeat from *” = rep from *; st(s) = st(s); sp = sp; p = picot. Ordinal row names (“1st Row”, “2d Row”, “3d Row”) are written Row 1, Row 2, Row 3, and the book's word “Row” is kept even where the work goes around. “2d sp”, “3d sp”, “4th s st” mean the 2nd, 3rd and 4th space or stitch counted on from the last one worked.
- Modernisation note: Picot (p) is the book's own (key No. 9): “usually made by a chain of three or five, then a slip stitch in the first chain”, with any variation given in the design's own directions. No design in this file prints its own picot count, so the chain-3 or chain-5 picot of the key is the one to use.
- Modernisation note: Space (sp) and block (bl) are the book's filet units (key Nos. 10 and 11): a space is 1 dc, ch 2, sk 2; a block is dc worked in adjoining stitches, four dc in the first block of a run and three in each block after it. A space at the beginning of a row starts with ch 5 — three for the edge dc and two for the chain at the top of the space.
- Modernisation note: The printed paragraphs are split into one row, round or step per line; stitch order and counts are unchanged. Section headings added for navigation.
- Modernisation note: Coats Mercerized Crochet numbers are read as roughly equal to the modern crochet thread sizes of the same number — approximate only. The book's own back page describes the thread as “a cabled or corded cotton”, made in White in sizes 1 to 100 and Ecru in sizes 1 to 50, but prints no ball length or yardage for any design, so no yardage is given here.
- Modernisation note: No gauge is printed for this design. The only measurement note in the whole book is the key's remark that a filet space “should result in a perfect square”; work a sample and change hook size until the mesh squares up and the edging lies flat.
- Modernisation note: No finished measurement is printed for this edging; it is worked to fit the piece it trims, so its length is set by that piece.
- Modernisation note: Check: no colour is printed for this design. The plates photograph as a plain light thread, and the book's back page lists Coats Mercerized Crochet in White in every size and in Ecru up to size 50.
- Modernisation note: Check: no hook size is printed for this design. Elsewhere in the same book a No. 12 steel hook is given for No. 60 thread, a No. 13 for No. 50 and No. 70, and a No. 14 for No. 80 and No. 100; the metric hook suggested here is ours, read across from the thread size.
- Modernisation note: Not printed. The book gives no ball count or yardage for any design.
- Modernisation note: The book's “s st” is written sc (see the stitch key note).
- Modernisation note: Check: the Red Cross filet corner this edging is printed with is given as “Then follow design”, with the design itself only on the chart, so the corner is not transcribed; the edging is complete as printed and works around a hemmed linen handkerchief on its own.
- Modernisation note: Check: the book calls the single crochet row “4th Row” although only two rows of spaces are named before it, so the printed numbering does not run straight; the row is renumbered here and the book's own name kept alongside.
- Modernisation note: Finishing line added; the book prints none.
Row progress: 0 of 2 done (0%)
Edging
0 of 2 done- Make 2 rows of sp all around the linen.Mark row complete
- Row 3 (the book's Row 4): 4 sc in each sp, with a picot every 4th sp.Mark row complete
Working on:
Make 2 rows of sp all around the linen.
Continue this pattern
The rest of the Red Cross Corner Linen Edge (1919) pattern is in the Vintage Crochet Edgings & Trims
Still to come in the full pattern:
- Finishing
Included with 618 patterns for $9 — $0.01 per pattern.
Errata
No corrections have been published for this pattern. Found a mistake? Tell us and we will log the fix here with a date.
Your notes on this pattern
Keep track of the yarn, hook and changes you used. Saved in this browser only — nobody else can see it.
Frequently asked questions
Where is the Red Cross Corner — edging pattern from?
It was published as "Red Cross Corner — edging" in J. & P. Coats Crochet Book No. 3: Yokes and Gifts (designed by Anne Orr) by J. & P. Coats (R. I.) Incorporated, Pawtucket, R.I. in 1919. The publication is in the public domain in the United States; this version is transcribed and modernised by crochetpatterns.io.
What yarn or thread do I need for the Red Cross Corner — edging?
Size 100 crochet cotton (approximate). Not printed — the book gives only the thread number.
What hook should I use?
Start with a 0.75 mm (US steel 14) hook — approximate. Change size until the edging lies flat. Gauge: No gauge printed.